You’ll feel the hum under your hands as the blades bite into spices, the sharp citrus scent rising when you hit pulse, and the silky weight of a perfectly blended batter when you lift the lid. Start by choosing the right jar and blade, pack ingredients just right, and master short bursts to avoid overheating. There’s a simple sequence that keeps textures spot-on and cleanup easy—want to know the exact steps?
Key Takeaways
- Start with liquids first, solids next, and use short pulses (1–2s) to control texture and prevent overheating.
- Match jar and blade to the task: steel for coarse/dough, chutney jar for aromatics, glass for monitoring, plastic for dry pulses.
- Load correctly: wet ingredients ≤2/3 jar, dry ≤3/4, and avoid overpacking to keep blades free and motor stable.
- Use low speeds to release aromas, then increase gradually; pause 10–15s between bursts and 2–5min for long runs.
- Maintain and handle safely: lock lids, unplug before cleaning, air-dry seals, tighten fittings, and use overload protection.
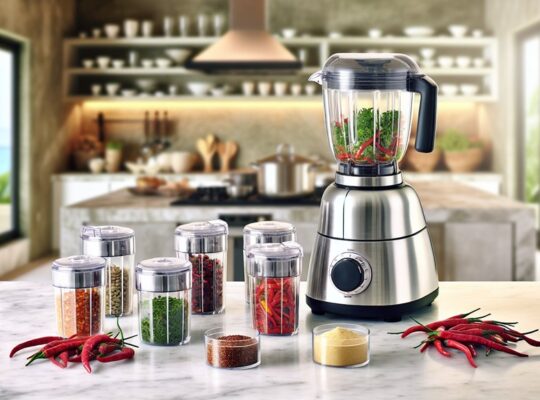
Choosing the Right Mixer Grinder for Your Kitchen
Picking the right mixer grinder starts with knowing what you’ll be making: if you’re grinding whole spices and wet batters daily, you’ll want a motor that’s robust enough to hum steadily under load and jars that seal without leaking; if you mostly blend smoothies and chutneys, quieter, lighter models with a reliable blender jar will do. You’ll want a unit that feels solid when you lift it, with jar lids that click firmly and handles that don’t slip when your hands are wet. Smell and sight matter — wobble or burning odors aren’t normal. Look for practical safety features: overload protection, stable rubber feet, and easy-to-clean seals that don’t trap food. Think capacity, noise, and easy maintenance for safe, tasty results. Consider choosing an 800 watt model with high torque for reliable performance under heavy loads.
Understanding Blade Types and Their Uses
Next, you’ll feel the difference between paddle, serrated, and cross blades as they shred, chop, or puree ingredients to the texture your recipe calls for. Notice the cool weight and finish of stainless steel versus hardened alloys — tougher metals stay sharp longer and resist pitting from acidic sauces. Match blade shape and material to the task at hand — use a flat blade for wet grinding, a serrated one for fibrous vegetables, and a heavy-duty alloy blade when you’re tackling nuts or ice. Many modern silent mixer grinders feature stainless steel jars which help preserve blade sharpness and reduce noise.
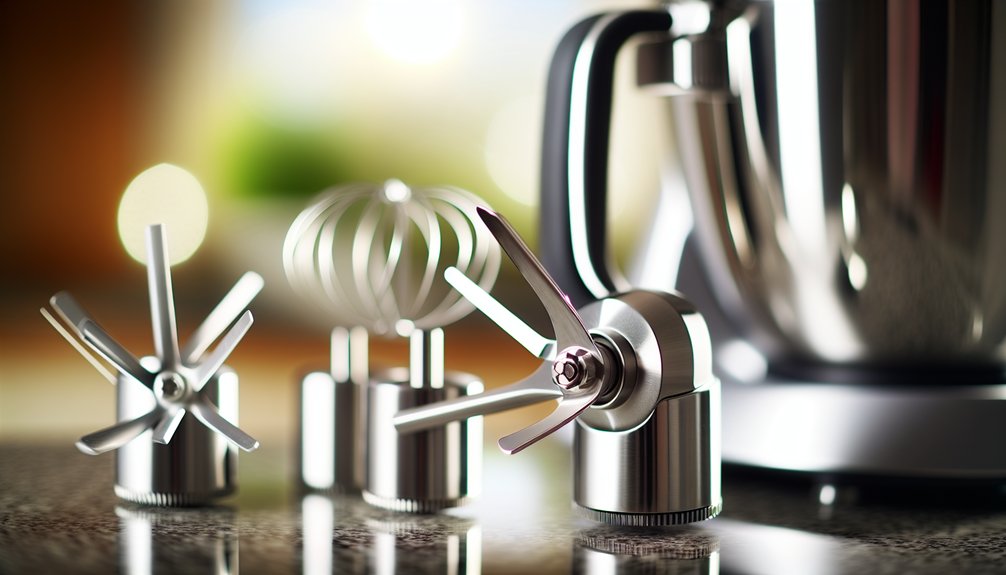
Blade Shapes Explained
How do different blade shapes change the way your grinder feels and performs? You’ll notice immediately: S-shaped blades slice and whirl ingredients faster, giving silky sauces and smooth batters with a cooling hum. Flat, straight blades crush and pound — great for coarse chutneys and nut pastes where you want texture and bite. Serrated edges grab fibrous vegetables and ginger, tearing and releasing juice that perfumes the air. Angled or offset blades create a vortex, pulling ingredients down for even grinding so your spice powder ends up uniform. Always lock the lid, keep hands clear, and unplug before touching blades. Taste as you go, pulse in short bursts, and clean blades carefully with a brush to keep them sharp and safe.
Material and Durability
Metal matters: the feel of a blade — its weight, heat under your fingers, and the faint metallic tang in the air when it slices — tells you a lot about how it’ll perform. You’ll notice stainless steel stays cool, resists stains, and hums steadily as you pulse spices; carbon steel bites sharper but can rust if you don’t dry and oil it after use. Hardened alloys shrug off dulling when you grind fibrous roots; ceramic blades stay inert for acidic ingredients but chip if dropped. Trust your senses: listen for wobble, watch for discoloration, feel for roughness at the edge. Maintain blades like a recipe — clean promptly, towel-dry, apply minimal food-safe oil, and store safely away from curious hands.
Matching Blade to Task
Which blade should you reach for when the knife of the mixer grinder is humming in the air? If you’re prepping a silky chutney, choose the sharp, slanted blade—it slices soft ingredients cleanly, releasing bright aromas. For coarse chutneys or chunky salsas, swap to a flatter, sturdier blade that crushes rather than purees; you’ll feel the texture under your fingertips and hear a reassuring, steady thrum. Use a dedicated wet-grind blade for batters and doughs; its rounded edges fold batter gently, preventing overworking. Hard spices and nuts demand a robust, hardened steel blade—pulse in short bursts and hold the jar steady. Always lock lids and check for chips before use; a safe blade choice protects both flavor and fingers.
Selecting the Correct Jar for the Task
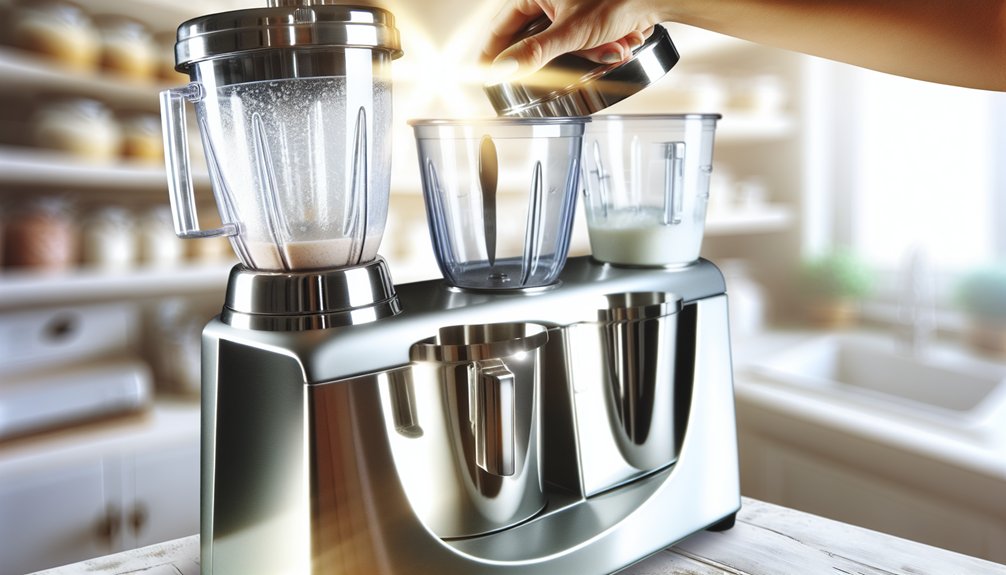
Ever noticed how the right jar can change the rhythm of your prep — the whir of blades, the smell of spices blooming, the texture of your grind? Choose a steel jar for coarse grinding and dough; its weight steadies the motor and keeps heat low, so your batter won’t overcook. Use a small chutney jar for aromatics and pastes — it concentrates flavor and gives you control. Glass jars show contents and help you watch consistency, but handle them gently and avoid sudden temperature shifts. Plastic is light for dry pulses, yet check it’s food-grade and scratch-free. Always secure lids, inspect seals, and fit jars correctly so you get clean cuts, even textures, and safe, repeatable results. For heavier tasks or frequent use, consider a model with a higher wattage like the 800-watt motor for better performance and stability.
Loading Properly: How Much to Put In and Why
How much should you load into the jar — and why it matters — comes down to balance: enough product so the blades can bite and tumble ingredients, but not so much that the motor strains or textures clump. Aim to fill wet jars no more than two-thirds and dry jars about three-quarters; that leaves space for movement and prevents splashes or jammed blades. You’ll feel the difference: a lively slosh and even chopping versus a labored thud. For chunky or fibrous items, loosen packing and add short bursts of liquid to ease processing. Always secure the lid, start slow, and stop to scrape down sides with a spatula if needed. That keeps you safe and delivers consistent, smooth results every batch. For frequent heavy use, consider choosing a model with a higher wattage motor like 750 watts to ensure long-term performance.
Mastering Pulse, Speed, and Timing Techniques
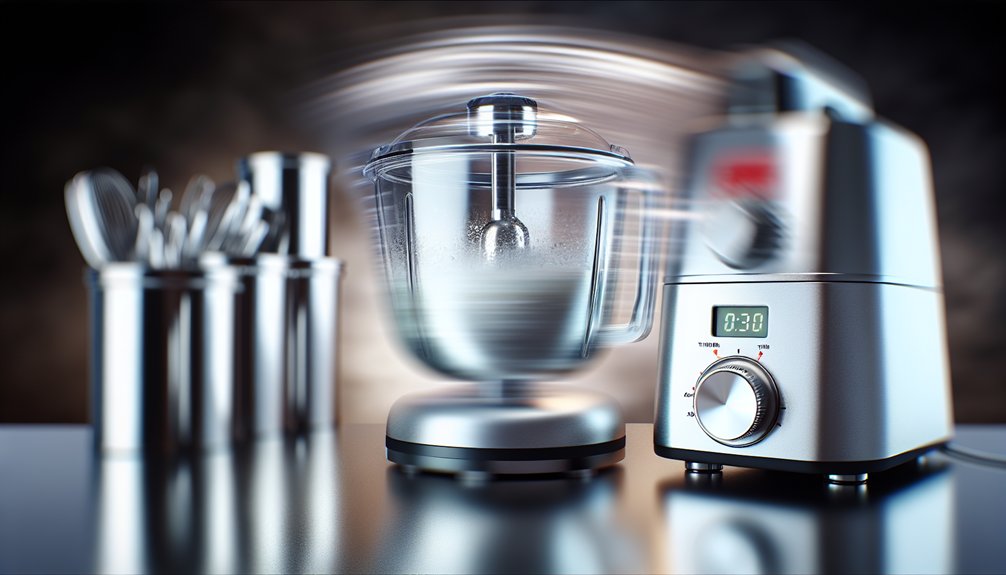
You’ll feel the texture change when you use short, confident pulses—think quick taps that break ingredients without turning them to paste. Ease the speed up gradually so you can hear and see when the mix smooths, gritty bits disappearing into a glossy blend. Give the blades brief rest intervals to let heat dissipate and flavors settle before the next round. Choose a 600-watt motor model for reliable consistent performance and overload protection during heavy use.
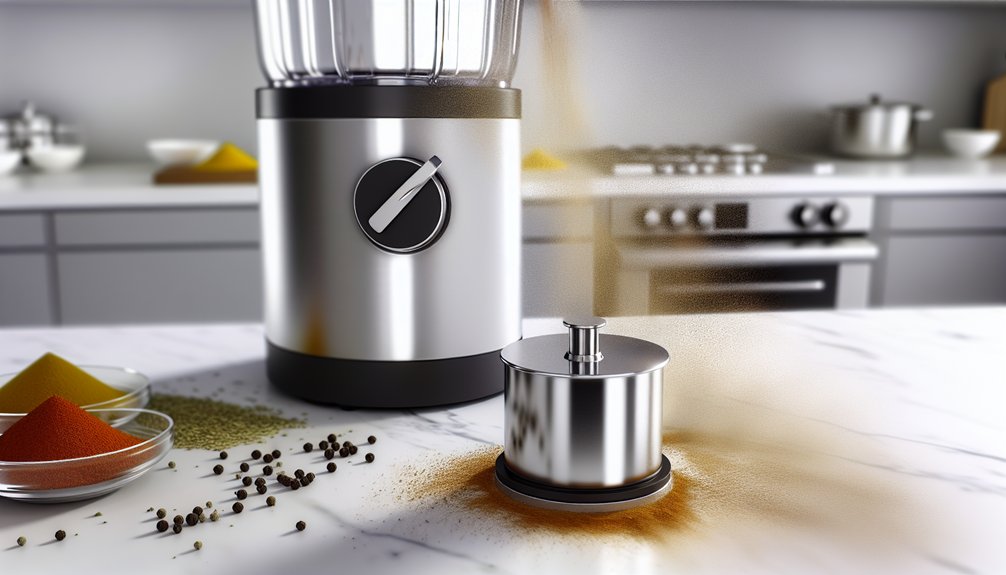
Use Short Pulses
Want that silky chutney or just-napped spice mix? You’ll love short pulses: they give you control, keep aromas bright, and prevent overheating. Tap the jar in quick bursts, listen for texture changes, and smell for freshness. Keep safety in mind—lid secure, hands clear, and power off between checks.
- Pulse for 1–2 seconds, rest 2–3 seconds to cool blades and ingredients.
- Check texture, scrape sides with a spatula, repeat until you see tiny, even particles.
- Stop while slightly underdone; residual friction finishes the job without turning oils bitter.
Short pulses create a layered mouthfeel and let you refine consistency step by step, so your results are flavorful and safe every time.
Adjust Speed Gradually
After you’ve mastered short pulses, ease into speed changes slowly so the grind stays even and flavors stay bright. Start at low speed to let aromas release without splashing, then nudge up a notch once texture feels cohesive. You’ll hear the motor shift and sense the mix smoothing; that’s your cue to stop increasing. For oily nuts or wet pastes, move gradually to prevent overheating — your nose should tell you if it’s warming. Use the dial in small increments, watching particle size through the lid and feeling vibration through the base. If it skitters or smells sharp, back off immediately and let it settle. These subtle adjustments keep color, scent, and safety intact while you craft restaurant-quality blends at home.
Time Rest Intervals
How long should you let the mix rest between pulses and speed changes? You’ll hear the motor breathe and feel the bowl cool; that pause lets heat dissipate, aromas settle, and textures relax so you get consistent results and avoid motor strain.
- Wait 10–15 seconds after short pulses — you’ll see ingredients de-clump and temperature drop slightly.
- Pause 30–60 seconds when switching to higher speed — the motor and blades need a moment, and the mixture evens out.
- Rest 2–5 minutes between long runs — perfect for viscous blends or nut pastes; check warmth and stir gently.
Always unplug before deep checks, keep lids secure, and trust your senses: sight, sound, and touch.
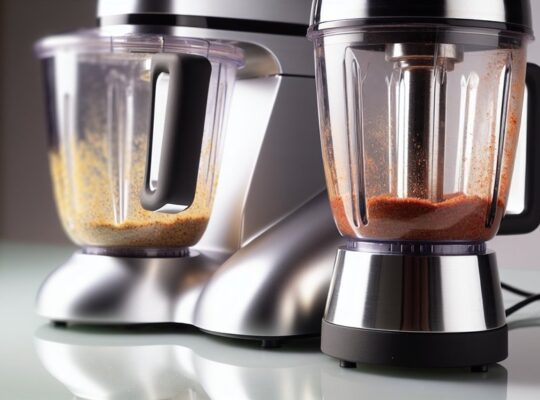
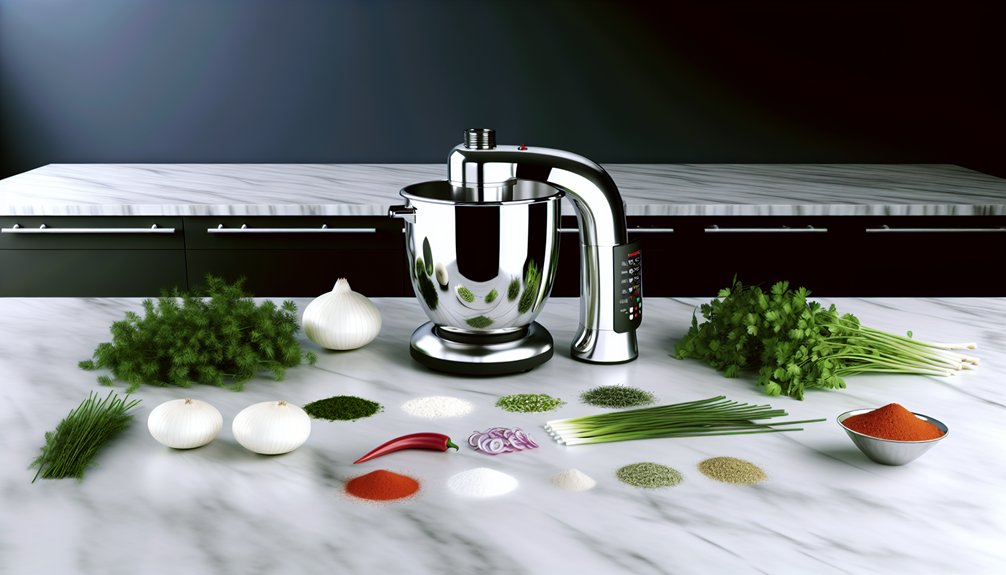
Grinding Spices and Dry Ingredients Perfectly
Ever wondered why fresh-ground cumin smells so much brighter than the store-bought stuff? You’ll notice oils bloom and aromas pop when you grind whole spices. Use a dry, clean jar and pulse in short bursts — 1–2 seconds — to avoid heating and losing fragrance. Cool the jar between pulses if it gets warm. Grind similar-sized seeds together for even texture: peppercorns with coriander, not with nutmeg. For powders, sift and re-grind any coarse bits. Always start with fully dry ingredients and a sealed lid; stray crumbs can contaminate future blends. After use, wipe the jar and blade with a dry cloth and let them air-dry before storing. Taste, then adjust seasoning sparingly. Many 4-jar mixer grinders include a dedicated dry jar which makes dry grinding more efficient and convenient.
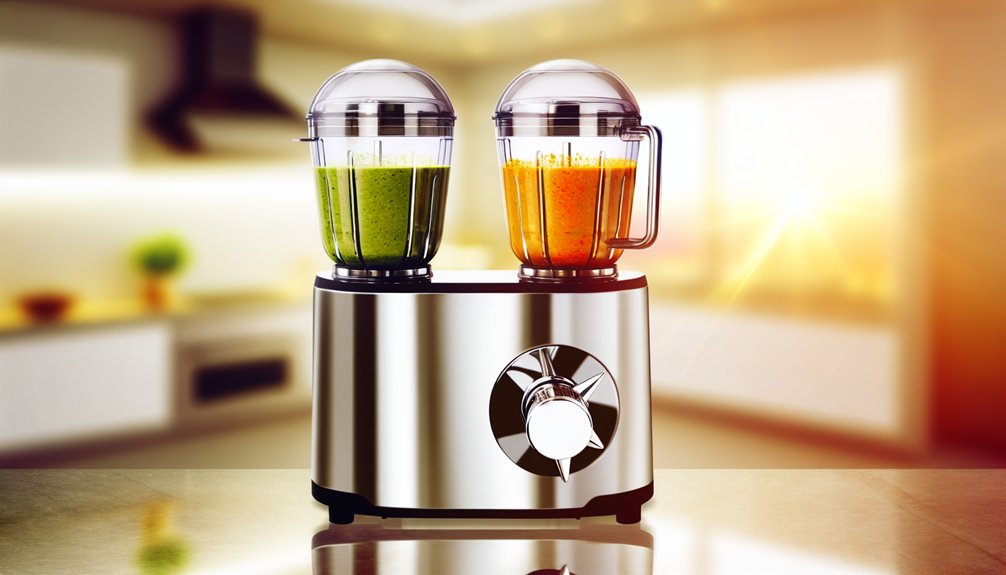
Making Smooth Batters, Purees, and Pastes
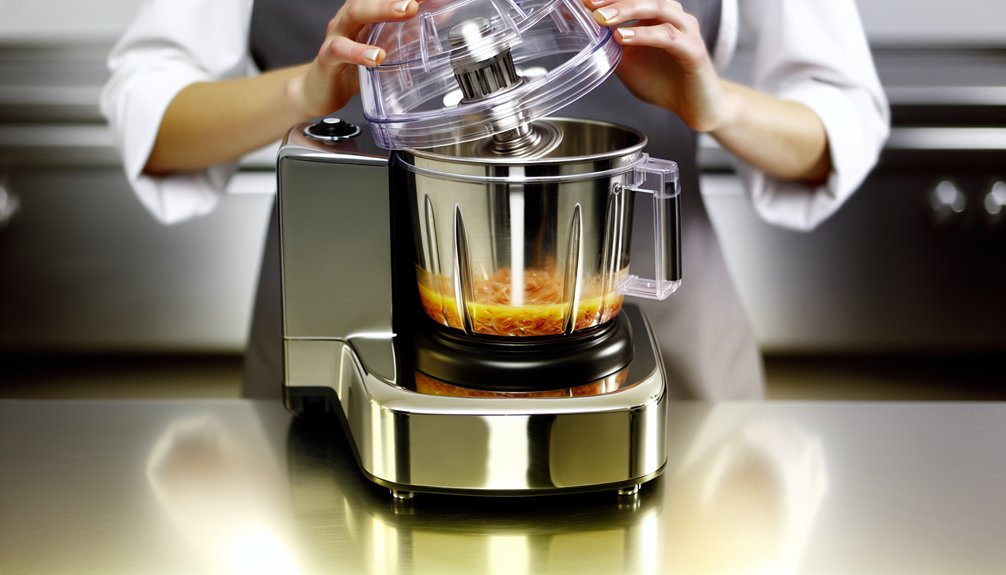
Want a batter so silky it coats the spatula and a chutney that tastes like it was made by a pro? You’ll rely on texture, timing, and simple technique. Add ingredients in stages: liquids first, solids next, then small pulses until smooth. Keep the jar half-full so contents move freely and don’t overwork the motor.
- Use short bursts, scrape sides, repeat — watch for even, glossy texture.
- Adjust thickness with tiny amounts of liquid; stop early, test, then finish.
- Strain coarse bits if you want satin-smooth results; reserve pulp for another use.
You’ll hear the motor change as the mix smooths — that’s your cue to stop. Clean and cool parts before handling to stay safe. For heavy-duty grinding tasks, choose a model with a 750W motor to ensure efficient, reliable performance.
Handling Wet and Cold Ingredients Safely
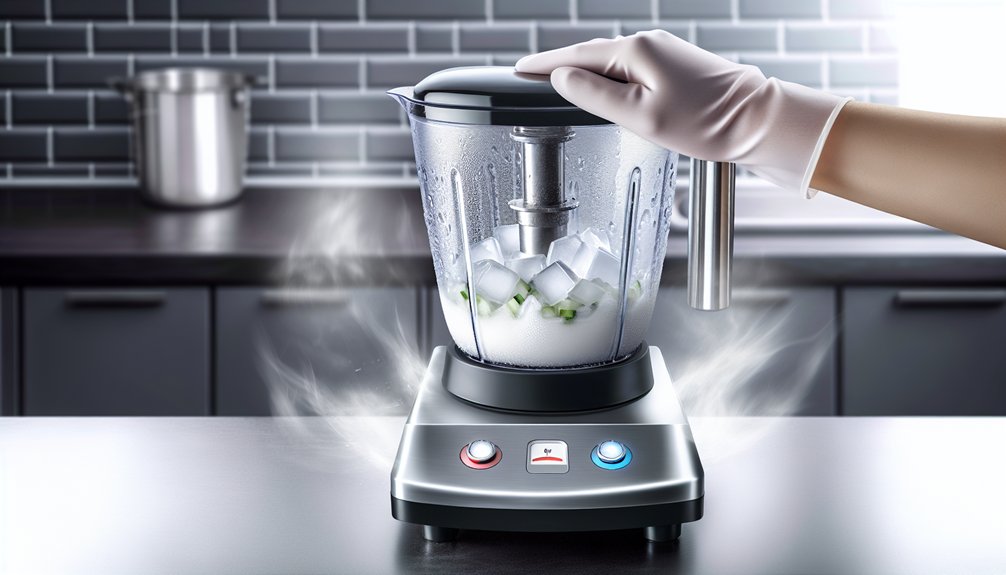
Feeling a little nervous about tossing chilled fruit or icy milk into the grinder? Don’t be — but do be careful. Start by letting very cold ingredients sit a few minutes to reduce thermal shock; a slightly less icy mango or cold cream blends more smoothly and won’t stress seals. Add liquids gradually while running on low so splashes don’t erupt; you’ll hear the texture change from clunky to velvety. Use a tamper or spatula with the lid secured to guide stubborn pieces toward the blades. Watch for condensation on the jar lip and wipe it dry before removing the lid. If you smell anything unusual or hear grinding strain, stop immediately and check for ice chunks or overfilling. For best results and longer life, choose a grinder with a powerful motor and durable jars suited to wet and cold processing.
Cleaning, Maintenance, and Troubleshooting Tips
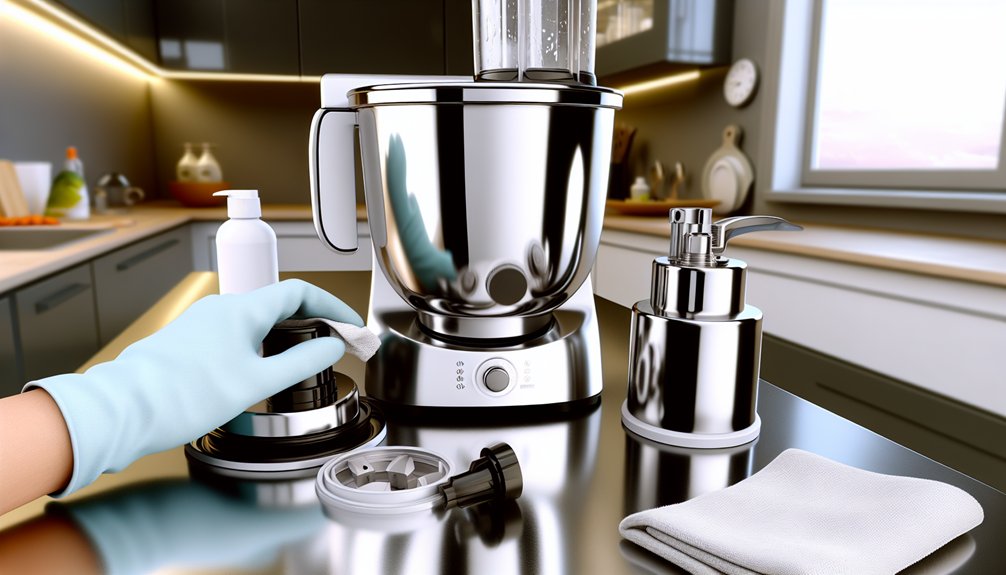
How do you keep your mixer grinder humming like a well-oiled kitchen rhythm? You’ll want to clean and check it after every batch so smells don’t linger and blades stay sharp. Unplug, feel for warmth, and let parts cool before you rinse—hot components can warp.
- Remove jars and blades, scrub with a soft brush and warm soapy water; dry thoroughly to avoid rust.
- Wipe the motor housing with a damp cloth; don’t submerge it—listen for unusual clicks when you run it empty.
- Tighten loose screws, replace worn gaskets, and oil spindle points per the manual; store sealed to keep dust out.
If it smokes or smells burnt, stop, unplug, and get a qualified repair—safety first. Also, remember to check the warranty terms for coverage on motor faults and service options.
Frequently Asked Questions
Can a Mixer Grinder Replace a Blender for Smoothies and Juices?
Yes — you can, but it won’t always match a blender’s smoothness. You’ll hear textures, feel pulp, and must secure lids, pulse cautiously, add liquids gradually, and strain for silky smoothies and clear juices to stay safe.
Is It Safe to Grind Bones or Hard Dried Chickpeas?
No — you shouldn’t grind bones or hard dried chickpeas in a mixer grinder; you’ll risk dulling blades or shattering parts. Instead, soak chickpeas or use a heavy-duty mill for bones, keeping safety foremost while prepping.
How Do I Reduce Noise Without Compromising Performance?
Lower noise by tightening blades, using fresh rubber mounts, and placing the grinder on a thick wooden board or folded towel; you’ll feel less vibration, hear softer hums, and keep performance sharp and safe while blending.
Can I Use a Mixer Grinder Overseas With a Different Voltage?
Yes — but you’ll need a proper step-down or step-up voltage converter rated above your grinder’s wattage, and the right plug adapter; you’ll smell warm motor heat if overloaded, so test briefly and watch for humming, sparks, or overheating.
What Accessories Improve Grinding Versatility (E.G., Filters, Sieves)?
Use fine-mesh sieves, spice grinders, and nut mills to adjust texture; you’ll hear results change, smell aromas bloom, and feel safer with locking lids, splash guards, and silicone mats—keep blades sharp and always unplug before swapping.