If you want your mixer grinder to last longer and perform like new without spending a fortune, start by targeting the parts that actually matter. You’ll look at motor bearings, blades, jars, seals and cooling first, then add a few affordable accessories that save wear and tear. Follow a simple, budget-minded plan and you’ll get big gains for small cost—here’s how to make practical upgrades that pay off.
Key Takeaways
- Replace worn seals, couplers, and gaskets with OEM or high-quality aftermarket parts to stop leaks and restore power transfer.
- Swap to hardened or stainless-steel blades and add an extra jar matched to typical tasks for longer life and better performance.
- Perform regular cleaning, vent clearing, and blade sharpening every 3–6 months to avoid motor strain and expensive repairs.
- Use batch processing and pulse bursts, keep loads moderate, and add a small external fan to reduce overheating.
- Buy affordable accessories (extra jars, splash guard, whisk) and refurbish usable parts instead of replacing the whole unit.
Inspect and Service the Motor and Bearings
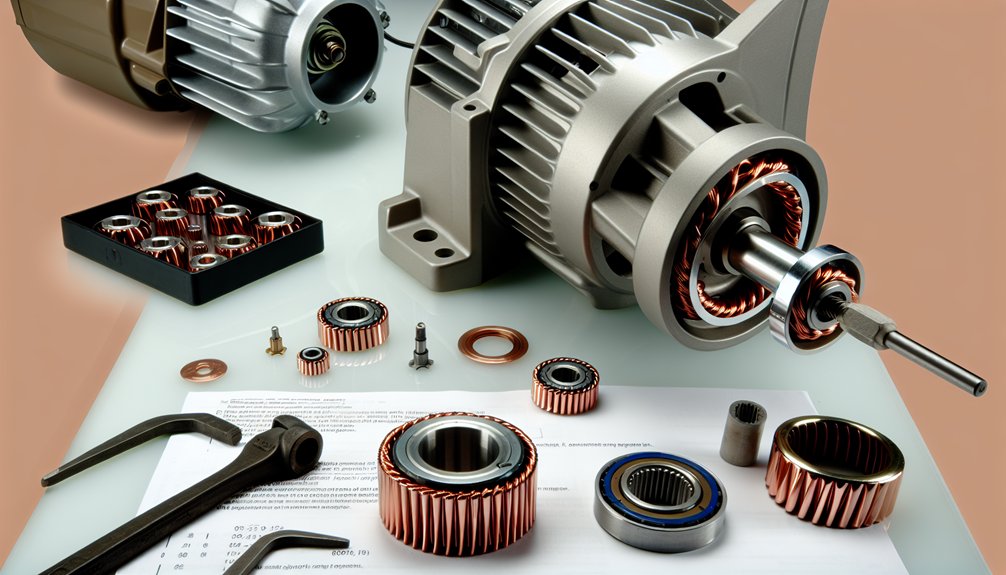
Start by unplugging the grinder and removing the jars so you can get a clear look at the motor housing and bearings. You’ll want to clean dust and residue with a soft brush and a damp cloth; don’t let water reach electrical parts. Check bearings for play or roughness by spinning the shaft; slight resistance can be lubricated, but loud grinding or wobble means replacement. Use affordable, appliance-grade lubricant and apply sparingly to avoid attracting grit. If bearings need replacing, source compatible parts online or from local repair shops — it’s often cheaper than a new unit. Reassemble carefully, ensuring seals and fasteners are secure. Test at low speed first; stop immediately if you detect unusual heat, smell, or noise. Always ensure the appliance is unplugged before assembling, disassembling, cleaning, or touching blades to reduce the risk of electrical shock and injury, and consult proper grounding practices if your outlet or cord appears damaged.
Upgrade to Professional-Grade Blades and Jars
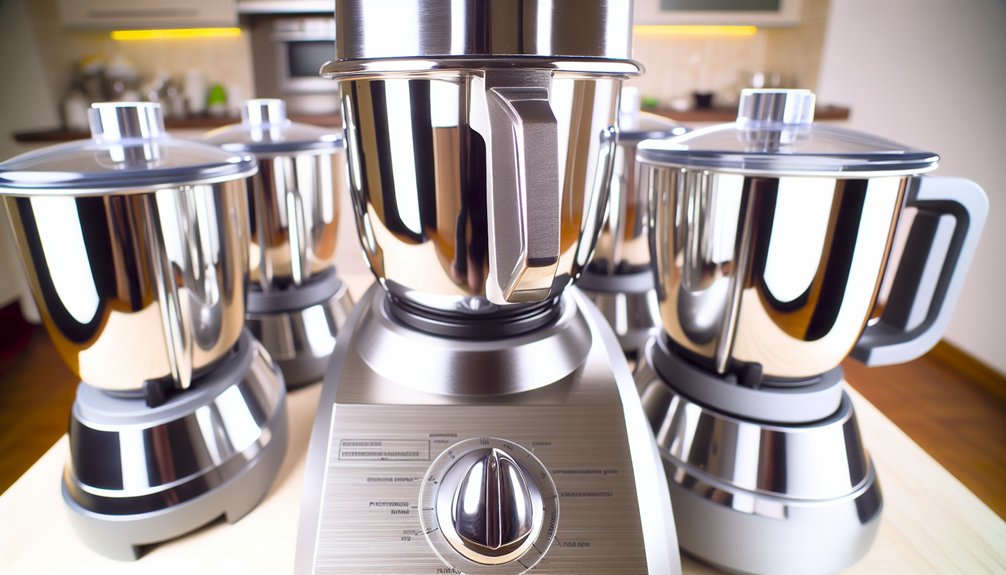
Now that the motor and bearings are in good shape, you can get more performance by swapping in better blades and jars without spending a lot. Choose stainless steel or hardened steel blades rated for your model; they cut cleaner, resist corrosion, and last longer so you replace them less often. Match jar capacity to typical tasks — small for chutneys, medium for everyday grinding, large for batters — to conserve power and reduce strain. Look for balanced, twist-lock jars and blades with safety interlocks compatible with your grinder to avoid accidents. Buy from reputable third-party makers or OEM refurbished parts to save money. When fitting, unplug the unit, follow torque guidance, and test at low speed to confirm secure seating before full use. Also consider choosing stainless steel jars when durability and corrosion resistance are priorities.
Replace Worn Seals, Gaskets, and Couplers

Check the seals and gaskets around your jars and lids for cracks or hardening—replacing them is inexpensive and stops leaks and odor buildup. If your grinder wobbles or strips gears, swap the motor coupler for a cheap OEM or compatible replacement to restore smooth power transfer. These small, low-cost fixes will extend the appliance’s life without a big investment. Make this a habit by performing a weekly inspection to catch worn parts early.
Inspect Seals and Gaskets
How often do you peek under the housing to inspect seals and gaskets? Regular checks catch cracks, hardening, or compressed seals before leaks damage bearings or wiring. Unplug the grinder, remove the jar and lid, then open the housing per the manual so you don’t void warranties or hurt yourself. Look for brittle rubber, fractured edges, or residue that prevents a tight seal. Small nicks let air and liquids in; replace cheaply sourced gaskets with OEM or high-quality aftermarket parts to prolong life. Clean seating surfaces with isopropyl alcohol and a soft cloth before installing new gaskets. Tighten fasteners evenly and test with a brief water run (watch for leaks). Routine inspection saves money and keeps operation safe.
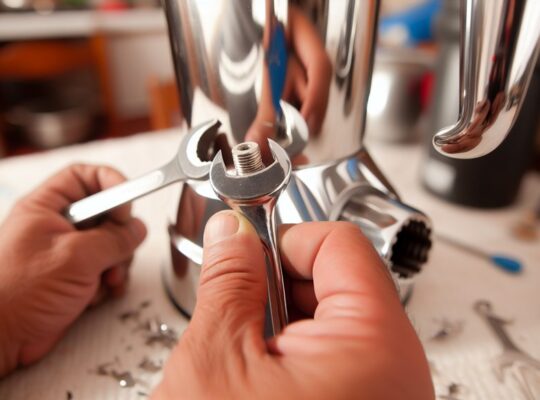
Replace Motor Coupler
Want to keep your grinder running without paying for a full motor replacement? Replacing a worn motor coupler is a cheap, effective fix. First, unplug the unit and remove jars to prevent accidents. Open the base per your model’s guide, note screw locations, and take photos so reassembly’s straightforward. Inspect the coupler for cracks, deformation, or slippage; rubber or plastic pieces show wear quickly. Buy an OEM or compatible coupler—cheap, but match size and fit. Remove the old coupler with care, clean mating shafts, and press or screw the new part on firmly. Test on low power while keeping hands clear. If vibration or noise persists, stop and consult a technician. This saves money and extends motor life safely.
Improve Cooling and Prevent Overheating
Because motor heat is the most common cause of grinder failure, you’ll want to focus on simple, low-cost ways to improve airflow and reduce strain—cleaning vents, replacing worn brushes, and adding a small external fan can extend life without a big investment. You should turn the appliance off and unplug it before doing anything. Inspect vents regularly and remove lint or dust with a soft brush or canned air. Check carbon brushes for wear and replace them if they’re short. Consider a clip-on USB fan aimed at the motor housing to lower operating temperature during heavy use. Regularly check and clean the motor vents to prevent overheating and ensure proper airflow.
- Clean vents monthly and keep surrounding area clear.
- Replace brushes when length falls below manufacturer spec.
- Use a small external fan for long or hot sessions.
Add Practical Accessories and Attachments
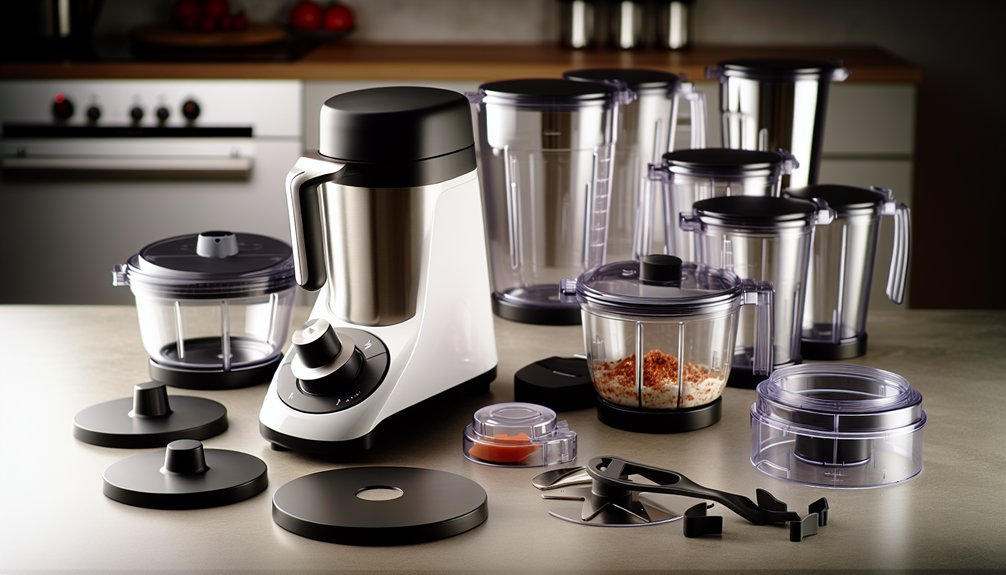
Looking to get more from your mixer grinder without spending much? Add practical accessories and attachments to expand function and save buy new appliances. Start with a set of extra jars—choose sturdy, BPA-free plastics or stainless steel for safety and durability. Pick a fine mesh strainer or sieve that fits the jar for smoother purees and safer pour control. A whisk or beater attachment handles batters and creams without overloading the motor. Buy a splash guard to prevent spills and protect you from hot splatter. Ensure any add-on clearly lists compatible models and secure locking mechanisms; avoid loose fittings. Shop refurbished or generic-brand accessories with good reviews to keep costs low while maintaining safe, reliable performance. Consider choosing accessories that match appliances with sturdy ABS bodies to improve safety and reduce vibration.
Smart Usage Habits and Routine Maintenance
To keep your mixer grinder running longer without costly repairs, clean jars and seals after each use and dry them thoroughly. Don’t overload jars—process in smaller batches to prevent motor strain and uneven wear. Sharpen or replace blades when chopping slows so you’re maintaining performance, not buying a new unit. Consider choosing models with vacuum feet to reduce vibration and extend component life.
Proper Cleaning Routine
Want to keep your mixer grinder running like new without spending extra? Clean it regularly, safely, and cheaply to extend life and avoid repairs. Unplug before you start, remove jars, blades, and lids, and handle blades with care — use a cloth or brush, not your fingers.
- Rinse jars immediately after use with warm soapy water; scrub corners with a soft brush and dry thoroughly to prevent odors and corrosion.
- Wipe the motor base with a damp cloth; never immerse it in water. Clean air vents with a soft brush to prevent overheating.
- Deep-clean blades monthly by soaking in vinegar-water for 15 minutes, scrub gently, rinse well, and oil fittings lightly if manufacturer allows.
Follow these steps to save money and stay safe.
Avoid Overloading Jars
Keeping jars clean will help them work better, but you also need to use them properly to avoid damage and extra costs. Don’t pack jars beyond the marked capacity: overfilling strains the motor, causes uneven grinding, and can warp seals. Process in batches for large jobs — it takes a little more time but prevents expensive repairs. Use pulse bursts instead of continuous running when contents are dense; that reduces heat buildup and extends motor life. Keep liquids below the max line to avoid leaks and short circuits. If a jar seems unusually hard to turn, stop and reduce load before restarting. These small habits protect parts, cut maintenance bills, and keep your mixer grinder safe and reliable for years.
Regular Blade Sharpening
How often should you sharpen the blades? You’ll want to check them every 3–6 months depending on use; heavy daily grinding needs more frequent care. Dull blades force the motor to work harder, waste electricity, and increase risk of slipping during handling.
- Inspect monthly: look for nicks, wobble, or reduced performance; stop and clean before sharpening.
- Sharpen or replace every 3–6 months: use a bench stone or affordable professional service; balancing cost and safety is key.
- Reassemble safely: ensure blades are dry, correctly seated, and the jar is locked before testing.
Stick to simple tools or inexpensive services — it’s cheaper than replacing motors and keeps your kitchen safe.
Frequently Asked Questions
Can I Convert My Mixer Grinder to Run on Inverter Power?
Yes — you can run your mixer grinder on an inverter, but you’ll need a compatible inverter and battery with sufficient continuous wattage and surge capacity. Check motor type, use a pure sine-wave inverter, and follow safe installation.
Are There Safe DIY Ways to Increase Motor Speed?
You shouldn’t attempt DIY motor-speed increases unless you know electronics and have proper tools; tinkering risks overheating, imbalance, warranty voiding, and fire. Instead, consider buying a higher-RPM motor or professional retrofit for safe, budget-conscious upgrades.
Can I Use 3d-Printed Parts for Jar Lids or Couplers?
You can, but don’t for safety-critical parts; use 3D-printed lids/couplers for low-stress, non-food-contact items with food-safe filament and strong infill. Test fit, avoid heat-exposed parts, and replace if any wear appears.
Is It Possible to Add a Pulse Function to My Grinder?
Yes — you can add a pulse function by wiring a momentary pushbutton to the motor switch or using a relay controlled by the button; keep costs low, ensure proper insulation, fuse protection, and unplug before modifying for safety.
Can I Replace the Motor With a Brushless DC Motor?
Yes — you can replace it with a brushless DC motor, but you’ll need compatible controller, proper mounting, cooling, and safety fusing; expect wiring changes, cost tradeoffs, and ensure electrical isolation to avoid fire or shock risks.