You’ll want to tackle common mixer grinder problems methodically, focusing on the motor, jar seals, and blade performance. Start with overheating, worn belts, or cord damage, then check for leaks from deformed gaskets and proper jar alignment. If blades aren’t cutting, inspect sharpness, alignment, and residue buildup. Before use, run quick electrical and safety checks. Regular maintenance matters, but when parts show wear, you’ll need a plan—and a few practical steps—to keep it reliable.
Key Takeaways
- Check for power issues: inspect the cord, plug, outlet voltage, and any tripped safety resets before diagnosing mechanical problems.
- If blades won’t cut, inspect sharpness, alignment, and compatibility of blade type with jar size.
- Look for leaks: inspect jar and lid gaskets, base-jar alignment, and tighten locking nut to spec to prevent seals from failing.
- For poor performance or overheating, assess motor overload, worn belts or bearings, and clean blades and seals to remove residue.
- Ensure safety features and interlocks are intact; verify jar is seated correctly and all accessories are installed before operation.
Common Motor Issues and Troubleshooting
If your mixer grinder isn’t operating, start by checking the motor for common faults: insufficient power, overheating, or a worn-out drive belt. You’ll inspect the power cord and plug for damage, verify outlet voltage, and guarantee the switch is functioning correctly. Next, feel for abnormal heat during operation; persistent warmth may indicate overloading or stalled blades. Listen for irregular motor hums or grinding noises that signal bearing wear or rotor imbalance. If the motor stalls, test for open windings or a tripped thermal protector, and reset only after cooling. Verify the drive belt tension and alignment, replacing it if stretched or cracked. Finally, confirm thermal protection resets normally after cooling, and avoid running empty or with overloaded loads to protect the motor. Safety-first protocols guide every step. Thermal protection can reset after cooling, and avoiding overloads helps protect the motor.
Jar Leaks and Seal Problems: Fixes That Work
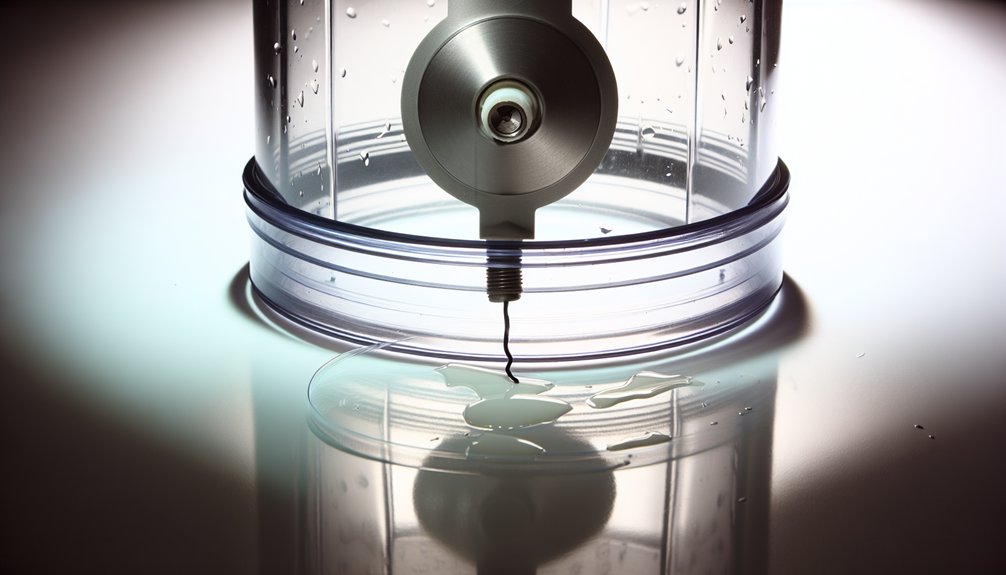
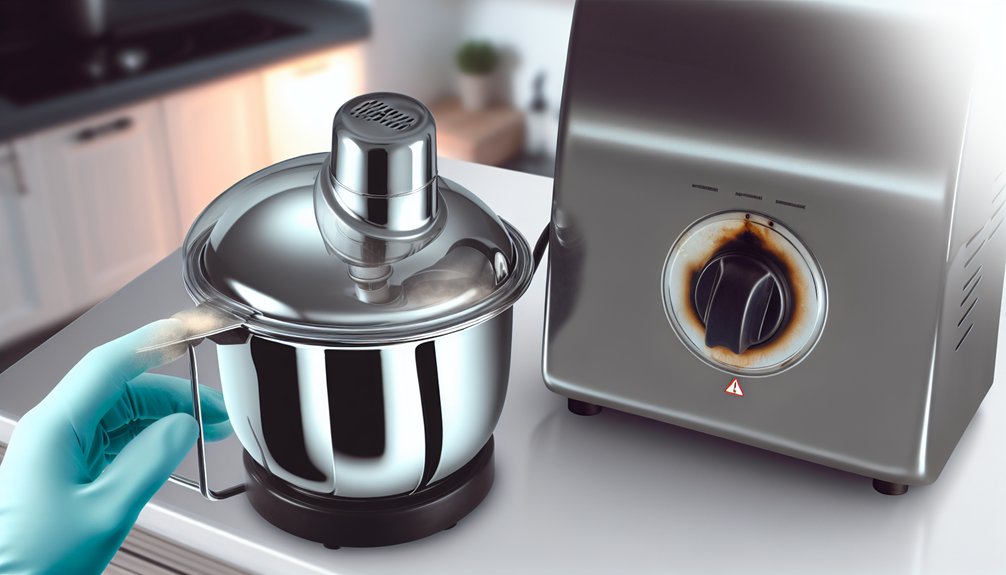
Jar leaks and seal problems are common after motor issues, and they directly affect performance and safety. You should inspect the jar gasket for deformations, cracks, or hardening, and replace if integrity is compromised. Check the base–jar alignment; misalignment can cause seal rupture or uneven pressure. Tighten the locking nut to the manufacturer’s torque specification, ensuring the jar sits flush without over-tightening. Inspect the lid gasket for wear; replace if it no longer seals when locked. Clean all mating surfaces to remove pulp residues, oils, or burnt-on debris that fragments seals. Use only manufacturer-approved seals and gaskets, as substitutes may fail under load. After replacement, run a short test with water to confirm leaks are eliminated and steady seal performance is achieved. Prioritize safety throughout troubleshooting and maintenance. Wattage and the overall build quality should be considered when evaluating leak risks, as higher-performance units may use different sealing standards than entry-level models.
Blades Won’t Cut or Blend Properly

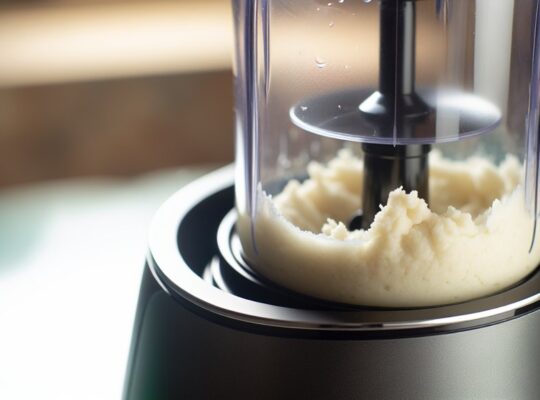
Blades won’t cut or blend properly can stem from dull or damaged blades, improper assembly, or worn bearings. You should inspect blade sharpness first: dull edges reduce cutting efficiency and overload the motor. If blades appear nicked or chipped, replace the blade assembly or resharpen per manufacturer guidance. Check alignment: misaligned blades can cause uneven processing and motor strain; reseat according to the assembly diagram and verify the blade lock is secure. Verify compatibility: use the correct blade type for your jar size and material, as mismatches degrade performance. Inspect the drive shaft and bearings for roughness or wobble; worn bearings increase friction and reduce efficiency. Clean blades and seals to remove residue that dulls cutting edges. Remember safety: unplug before inspection and handle sharp components carefully. Also, ensure the motor is not overheating, as continuous overload can weaken performance in high-wattage Havells mixer grinders. blade assembly
Electrical and Safety Checks Before Use
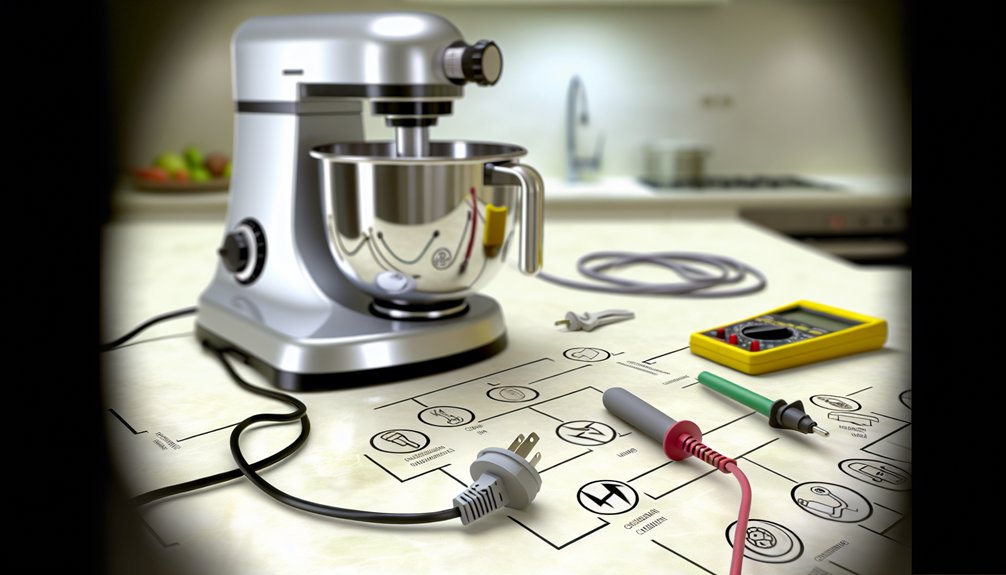
Electrical and safety checks before use guarantee the mixer grinder operates reliably and without risk. Before plugging in, inspect the power cord for cuts, fraying, or bends. Check the plug and grounded outlet compatibility; never bypass grounding. Ascertain the lid is properly closed and the jar is seated correctly before starting. Verify all accessories are installed as intended and the unit is on a stable, dry surface away from water. Confirm the switch, overload protector, and reset button function normally by testing briefly with a minimal load. Read the manual for voltage specifications and fuse location. Never operate with damaged parts, loose fasteners, or missing safety interlocks. If anything seems off, power down, unplug, and consult authorized service. Safety first, always. 500 watts motor provides reliable performance across the listed models.
Maintenance, Upgrades, and When to Replace Parts
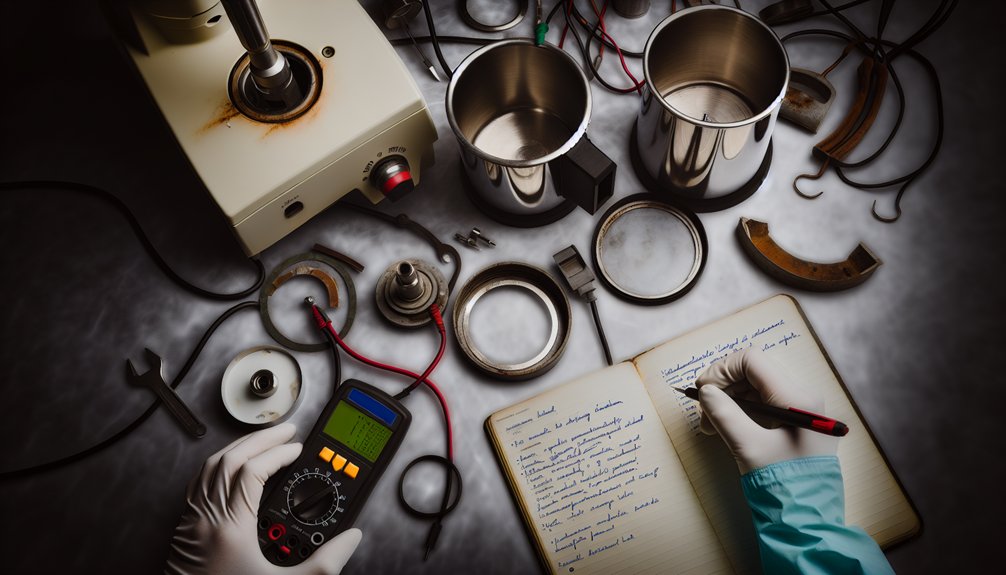
Regular maintenance keeps your mixer grinder reliable and safe, and knowing when to upgrade or replace parts helps avoid unexpected downtime. You’ll protect performance by tracking wear, inspecting seals, and confirming cord integrity after heavy use. Schedule routine belt and bearing checks, replacing worn parts promptly to preserve torque and reduce noise. Upgrade to higher-quality seals or gaskets if you notice leaks or moisture ingress, improving longevity and safety. Replace power contacts or cord sets that show scorching, fraying, or loose connections to prevent electrical faults. Assess motor brushes and cooling fins; upgrade or service as needed to maintain efficiency and prevent overheating. Maintain seal integrity to reduce moisture ingress and extend unit life.
Frequently Asked Questions
How Do I Choose the Right Jar Size for My Mixer Grinder?
You should choose jar size based on your typical load: a larger 1.5–2 L for families, mid 1–1.5 L for daily use, and smaller 0.5–1 L for single servings, ensuring fit and safety with motor power.
Can Noise Levels Indicate a Defective Motor or Bearings?
Yes—unusual noise can indicate a defective motor or worn bearings; stop use, unplug, and inspect for roughness, debris, or misalignment. Do not operate until issues are resolved; consult a qualified technician and replace faulty components promptly.
What’s the Typical Lifespan of Blades Under Daily Use?
Blades typically last 6–12 months with daily use, depending on load and maintenance; inspect for dull edges, chips, or imbalance, and replace promptly. Sharpening isn’t recommended; guarantee safe shutdowns and unplug during inspection or replacement.
Do Different Brands Require Specific Maintenance Schedules?
Yes, different brands often have distinct maintenance schedules; always consult the manual, follow recommended intervals, and use brand-approved parts. Regular inspections for seals, bearings, and blade alignment improve safety and extend motor life. Don’t skip the routine checks.
How Do I Troubleshoot Inconsistent Grinder Texture Without Opening the Unit?
Uneven grind texture could indicate dull blades, improper loading, or moisture. Check user manual for safe troubleshooting steps: stop, unplug, inspect jar and blades (without opening motor), use correct speed, avoid overloading, and clean, dry ingredients. Seek professional service if unsure.