If your mixer grinder jar is leaking, you’ll want to check a few key spots: the lid seal, gasket, blade assembly, and the jar body for cracks. You can usually spot a worn or misaligned gasket, loose blade housing, or damaged threads quickly, and simple replacements or reassembly often stop the drip. Keep going—there are a few less obvious causes and safe fixes that are worth knowing.
Key Takeaways
- Unplug unit and remove jar, then inspect jar, lid, and gasket for cracks, warping, or hardening that allow leaks.
- Replace any cracked or misshapen gasket with the correct OEM-size and material; do not patch a compromised seal.
- Check blade assembly threads, locking flanges, and washers for wear or debris preventing the jar from tightening fully.
- Ensure lid sits flush, interlocks engage, fill below the maximum line, and use pulse cycles for hot liquids to manage pressure.
- Let very hot contents cool slightly, use vented lids if available, and wash/dry gaskets to preserve shape and sealing.
Why Your Mixer Jar Is Leaking and How to Fix It
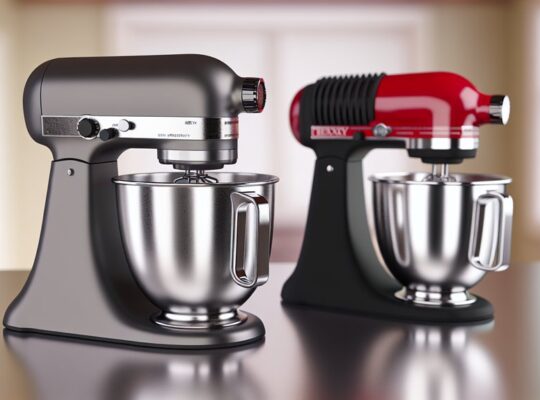
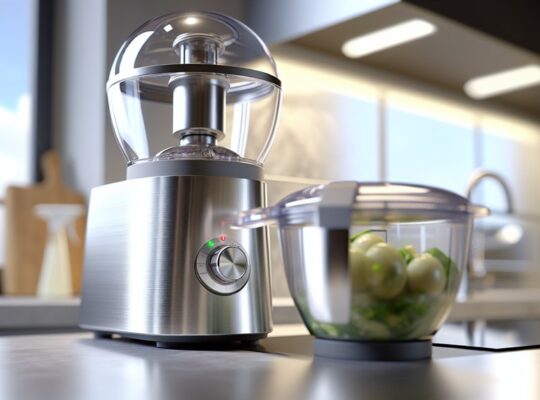
A leaking mixer grinder jar can turn a quick meal prep into a messy chore, but most leaks have straightforward causes and fixes you can handle yourself. Start by unplugging the appliance and removing the jar. Work on a dry towel or tray to contain any residual liquid. Inspect the jar exterior and lid visually for cracks, chips, or warped plastic; even small damage can let liquid escape under pressure and should be taken seriously for safety. Check the jar gasket — the rubber or silicone ring seated between jar and lid or jar and blade assembly. If it’s cracked, stretched, flattened, or hardened, it won’t seal. Don’t try to patch a compromised gasket; replace it with the correct size and material specified by the manufacturer to preserve a safe, tight seal.
Next, examine the blade assembly and the area where it screws into the jar. Look for worn threads, distorted locking flanges, or missing washers. A blade housing that won’t tighten fully will let liquid force its way through during operation. Clean away debris or food particles that can prevent proper seating, and confirm the blade unit is aligned and hand-tightened according to the user manual. If the seals around the blade are damaged or the blade unit is corroded, buy an OEM replacement rather than improvising repairs; improper parts can fail unexpectedly and create safety hazards.
Lid placement and locking features are common culprits. Make sure the lid sits flush and any safety interlocks click into place. If your model uses a lid with a locking pin or a groove, inspect those parts for wear. A cracked lid or a chipped rim will stop the lid from seating correctly; replace the lid if you find damage. When reassembling, don’t overfill the jar. Most leaks occur when contents reach or exceed the maximum fill line, especially with frothing or high-speed blending. Observe fill limits and use pulse operations for hot liquids to avoid pressure build-up.
Hot liquids deserve special care. Heat increases pressure and reduces gasket resilience; allow very hot contents to cool slightly before blending and use a vented lid if provided. Avoid running the grinder continuously for long periods; give it short rests to prevent overheating that can deform seals. After each use, wash and dry the jar parts thoroughly. Residual food can compress gaskets and cause uneven sealing over time. Store gaskets and lids separately in a dry place to maintain their shape.
If you’ve tried these steps and leakage persists, consult the manufacturer or a qualified service center. Describe the model, age, and symptoms precisely. Don’t continue using a leaking jar; electrical components and liquids can combine to create dangerous situations. A measured, safety-first approach will get your grinder reliable again without unnecessary risk. Note that many modern compact blenders and high-power motors can increase stress on seals if used beyond their intended duty cycle.
Frequently Asked Questions
Can Sealing Tape Temporarily Stop a Leaking Mixer Jar?
Yes, it can temporarily stop a leaking jar, but don’t rely on it long-term. Clean and dry the area, apply waterproof sealing tape tightly, test gently, and arrange proper replacement or repair for safety.
Is It Safe to Run a Mixer With a Small Leak?
No, you shouldn’t run it with a leak. You’ll risk electrical shock, motor damage, and mess. Stop immediately, unplug, and either repair the seal or replace the jar; consult a technician if moisture reached the base.
How Long Do Replacement Gaskets Typically Last?
Replacement gaskets typically last 1–3 years with regular use; heavy use or abrasive foods shorten life. You should inspect monthly, replace if cracked, hardened, or leaking, and keep spares to maintain safe operation.
Can Dishwasher-Safe Jars Still Leak After Cleaning?
Yes — even dishwasher-safe jars can still leak after cleaning. You’ll want to inspect seals, gasket seating, and lid alignment; replace worn gaskets, dry components thoroughly, and avoid high-heat cycles that can warp parts or degrade seals.
Do All Jar Leaks Void the Appliance Warranty?
Not necessarily — it depends on warranty terms and cause; if leakage stems from user damage or improper cleaning it may void coverage, but manufacturer defects usually remain covered. Check your warranty and document issues promptly for safety.