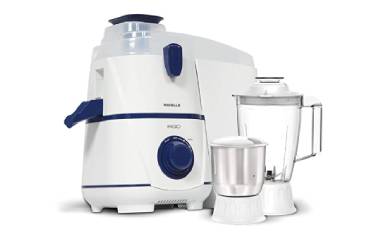
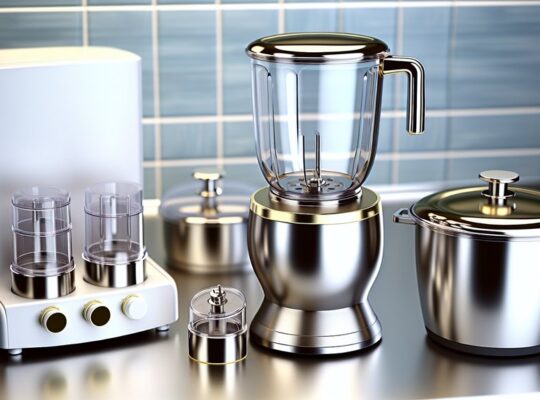
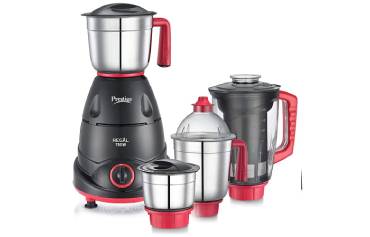
You’ll want a simple routine that keeps jars clean, dry, and ready so your mixer grinder lasts longer. Rinse jars right after use, disassemble blades and gaskets, and wash with mild soap and a soft brush. Dry everything thoroughly and store jars upside down with lids slightly ajar to prevent moisture buildup. Follow a few deeper-clean steps and inspection tips next to avoid stains, odors, and premature wear.
Key Takeaways
- Rinse jars immediately after use with warm water to prevent residues from drying and staining.
- Disassemble lids, gaskets, and blades and wash each part with mild soap and a soft brush.
- Deep-clean stains or oil with baking soda soak or hot vinegar solution, then rinse thoroughly.
- Air-dry jars upside down and store lids slightly ajar to prevent trapped moisture and odors.
- Inspect blades and seals regularly, replace worn parts, and store jars in a cool, dry cabinet.
Essential Daily Cleaning Steps for Mixer Grinder Jars

How should you tackle daily cleaning so your mixer grinder jars stay sanitary and long-lasting? You’ll rinse jars immediately after use to prevent residue from hardening, using warm water to loosen particles. Disassemble lids, gaskets, and blades carefully—always handle blades by the base to avoid cuts. Wash each part with a mild dish soap and a soft brush or cloth; don’t use abrasive pads that can scratch surfaces. Rinse thoroughly to remove soap traces, then dry parts completely with a clean towel or air-dry upside down on a rack to prevent moisture buildup. Reassemble only when fully dry and store jars with lids slightly ajar to allow ventilation. Regular quick cleaning reduces contamination and extends the appliance’s safe service life. For routine maintenance, also inspect the blades for damage to maintain efficiency and prevent strain on the motor.
Deep-Clean Methods for Stains, Oil, and Odors

Daily rinsing and quick washes handle most messes, but stubborn stains, oily residues, and lingering smells need stronger care. Fill the jar with hot water, add a tablespoon of baking soda and a splash of mild dish soap, let sit 20–30 minutes, then scrub with a non-abrasive brush. For oil-heavy buildup, pour in equal parts white vinegar and hot water, wait 15 minutes, swirl, then rinse thoroughly. To remove strong odors, make a paste of baking soda and water, coat the interior, leave an hour, then rinse; or soak with diluted lemon juice. Always wear gloves if you have sensitive skin, avoid harsh abrasives that scratch surfaces, and air-dry jars upside down to ensure all moisture and smells dissipate before storage. For best long-term results, also ensure proper electrical practices and motor protection to extend your mixer grinder’s life.
How to Maintain Blades, Seals, and Jar Handles

Want your grinder to keep performing like new? Treat blades, seals, and handles with simple, safe routines. Always unplug and remove the jar before you touch parts. Inspect blades for nicks or looseness; replace if jagged or wobbling. Check rubber seals for cracks, hardening, or food buildup; swap seals at first sign of wear to prevent leaks and motor strain. Tighten or replace loose handles and mounts to avoid accidents.
- Clean blades carefully with a brush, avoiding fingers; dry and oil lightly if manufacturer allows.
- Soak seals in warm, soapy water; rinse thoroughly and air-dry before reassembly.
- Test handle stability after every deep clean; secure screws and check plastic for fatigue.
Regular checks keep you safe and extend life. Kenstar offers models with different jar sizes to match your kitchen needs.
Best Practices for Drying and Storing Jars Safely

Proper drying and smart storage will keep jars odor-free, rust-free, and ready to use. After washing, rinse thoroughly and shake off excess water. Dry jars with a clean lint-free cloth, then air-dry upside down on a rack to ensure vents and seals drain completely. Leave lids and gaskets off until fully dry to prevent trapped moisture. Store jars in a cool, dry cabinet away from direct sunlight and heat sources to avoid warping and bacterial growth. Keep lids, blades, and small parts stored separately in labeled containers to prevent damage and cross-contamination. Inspect stored jars periodically for condensation or odors; if you find any, rewash and dry immediately. Follow these steps to maintain hygiene and prolong jar life. For longer durability, also check and replace gaskets regularly to ensure proper sealing and overload protection on the unit.
When to Repair or Replace Jars and Parts

How do you know when a jar or part needs fixing or replacing? Check for visible damage, leaks, unusual noises, or wobble during use — those signs mean immediate attention for safety.
- Inspect blades, seals, and mounts: replace cracked jars, chipped blades, or hardened gaskets to prevent leaks and motor strain.
- Test performance: if grinding slows, stalls, or vibrates excessively after cleaning and correct assembly, a worn coupling, bearing, or blade may be failing.
- Consider cost vs. safety: replace parts when repair costs approach new-part prices, or when repairs won’t restore safe operation.
Always unplug before inspecting or replacing parts, use manufacturer-approved components, and document serial numbers for correct replacements to keep use safe and reliable. Models with powerful motors and durable blades may still need regular part checks to maintain optimal performance.
Frequently Asked Questions
Can Dishwasher-Safe Jars Damage Grinder Performance?
Dishwasher-safe jars usually won’t damage grinder performance if seals, blades, and bearings stay intact; you’ll avoid warping by using gentle cycles, low heat, and removing lids promptly. Inspect and replace worn gaskets to maintain safety.
Can I Freeze Food Inside the Grinder Jars?
You can freeze food in most mixer grinder jars, but you shouldn’t operate the blades while frozen. Make sure jars are freezer-safe, leave room for expansion, thaw fully before blending, and avoid sudden temperature changes to prevent cracking.
Are Glass Jars Better Than Stainless Steel Jars?
Yes — glass jars won’t react with acidic foods and let you spot residues, but they’re fragile. Stainless steel’s durable, safer if you drop it, and retains heat; pick based on safety needs and usage.
How to Remove Rust From Exterior Jar Bodies?
You can remove rust by scrubbing with baking soda paste or white vinegar, using a soft brush, then rinsing and drying thoroughly; wear gloves, avoid harsh abrasives near seals, and apply a light oil coat to prevent recurrence.
Can I Use Jars From Other Brands With My Mixer Grinder?
Yes, you can, but you shouldn’t assume fit or safety. Check shaft size, coupling type, jar rim and lid seal compatibility, and material ratings. Mismatched jars can damage the grinder or cause leaks and injury, so verify first.
