If you’re sharpening mixer grinder blades at home, you’ll want a precise, safety-first approach to avoid damage or injury. You’ll unplug the unit, secure the blade, and use a stable sharpening tool to maintain a steady 15–20 degree edge with light pressure. The process requires careful checking of angle, heat, and balance, plus proper cleaning afterward. Get your bearings right, and you’ll uncover the subtle limits of your blades—but there’s more to align before you test their true performance.
Key Takeaways
- Unplug the mixer, remove the blade from the housing, and inspect for nicks or damage before sharpening.
- Secure the blade in a vise with the cutting edge exposed, using masking tape to protect surrounding surfaces.
- Sharpen with a fine grit stone or diamond file at a consistent 15–20 degree angle, applying light, even pressure.
- Rinse and dry the blade frequently to prevent overheating and corrosion during sharpening.
- Reassemble, test on dry food fragments, and check for smooth operation and proper alignment.
Tools You’ll Need
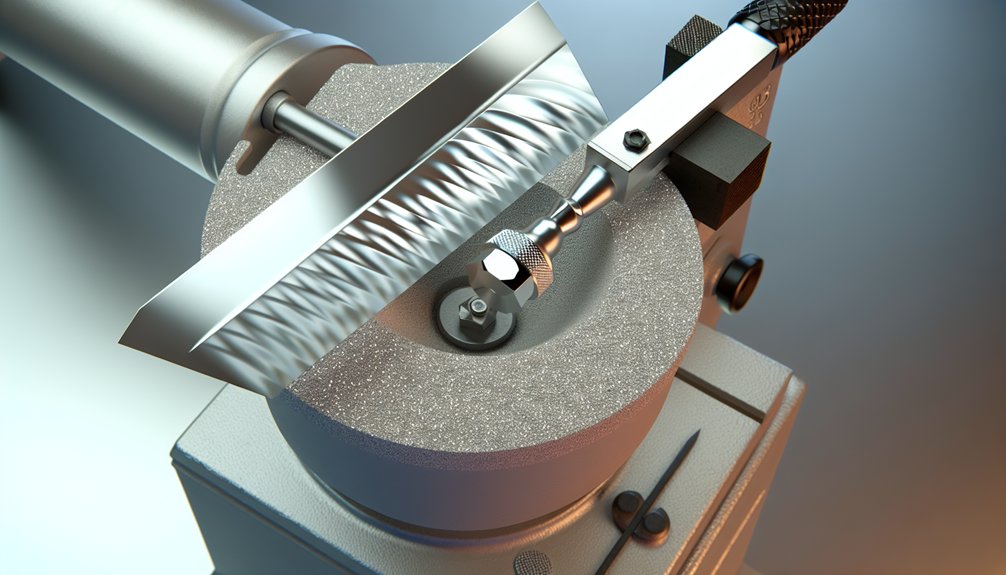
To sharpen mixer grinder blades, you’ll need a few essential tools: a sharpening stone or diamond file, a vise or clamp to secure the blade, a pair of safety gloves, eye protection, masking tape to mark grinding surfaces, and a fine-grit deburring tool or honing rod for final finishing. Choose a stone or file with consistent grit to avoid gouging. A sturdy vise prevents blade movement during sharpening, reducing slip risk. Wear gloves and eye protection to mitigate cut hazards and debris exposure. Use masking tape to protect non-grinding edges and define contact areas. The deburring tool or honing rod delivers a smooth edge after grinding. Maintain a steady, controlled motion, applying light, even pressure, and regularly inspect for uniform bevels and symmetry.
Safety Precautions
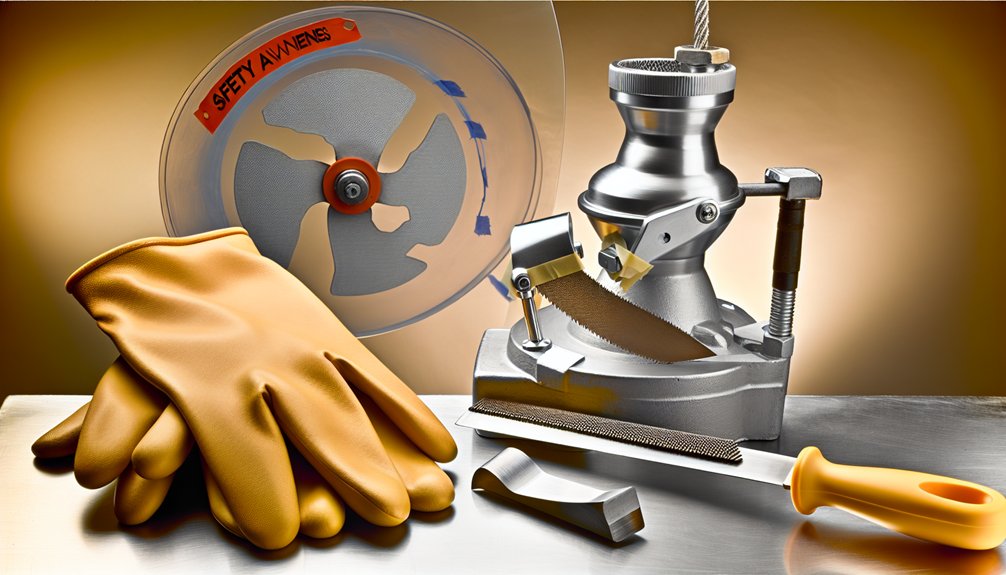
Safety is paramount when sharpening mixer grinder blades, so treat every step as a potential risk and plan accordingly. Before you begin, disconnect power, unplug the unit, and remove any jars or blades. Wear cut-resistant gloves and eye protection; keep loose clothing and jewelry away from moving parts. Work on a stable, non-slip surface with adequate lighting. Use a dedicated sharpening stone or a commercial blade sharpener designed for metal edges, and avoid improvised tools that can slip. Mark blades to track balance during reassembly, and never test while still mounted. Clean all residues from the workspace to prevent contamination. Inspect tools for damage before use, and follow manufacturer guidelines for blade handling, storage, and disposal. Maintain a clear head, and proceed methodically.
Steps for Blade Sharpening
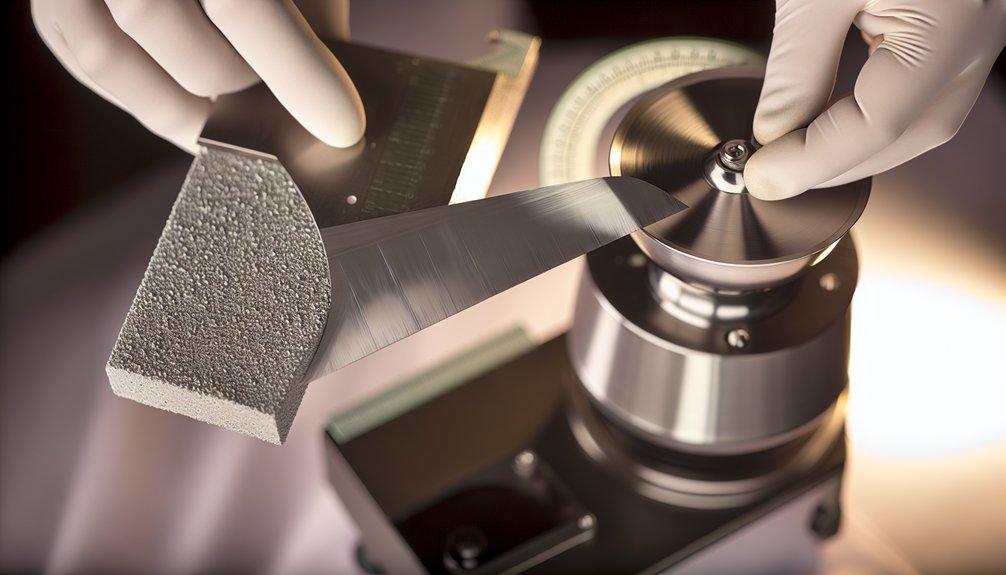
Now that safety is established, begin by preparing the blade for sharpening: remove the blade from the mixer housing, inspect for nicks or chipping, and choose the appropriate sharpening method and abrasive (a fine grinding stone or a dedicated blade sharpener). Position the blade securely in a stable vise or clamp, with the cutting edge exposed. Maintain a consistent angle—typically 15 to 20 degrees for most blades—while applying even, light pressure. Use short, controlled strokes away from the edge to remove burrs without excessive metal removal. Frequently rinse and dry the blade to prevent heat buildup and debris transfer. After progression, test for straightness and balance before reassembly. Avoid overheating. Document the sharpening interval and restore dull areas as needed and maintain safe handling practices in the kitchen and workshop.
Testing Sharpness and Performance

Once the blade is sharpened and reassembled, the next step is to evaluate sharpness and performance. Begin with a controlled test: run the mixer on dry food fragments that mimic typical loads, using brief, monitored bursts. Observe blade alignment, noise, and vibration; any wobble or irregular sound indicates imbalance or burr remnants. Move to soft, then tougher textures, noting consistency of puree, minced size, and absence of charring. Measure cut uniformity by comparing sample thickness or particle size after a fixed interval. Monitor motor current and temperature; a stable draw and modest heat indicate efficient cutting. Stop immediately if excessive heat, smoke, or unusual smells occur. Document results, confirm safety checks, and reset for the next evaluation cycle. Efficient performance is essential for heavy-duty tasks, ensuring long-term reliability in commercial and domestic use. Sharpness testing provides a practical benchmark for ongoing maintenance and blade care.
Maintenance and Longevity Tips
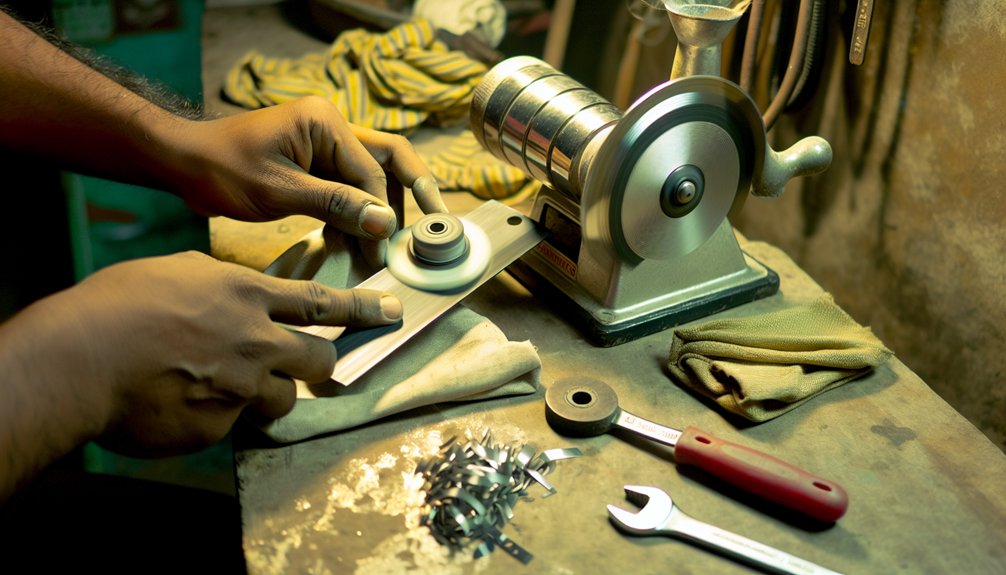
Regular maintenance extends blade life and preserves performance by preventing corrosion and buildup; with routine care, you’ll reduce downtime and keep cuts consistent. You should implement a standardized cleaning protocol after every use: unplug the unit, disassemble safely, wash blades and jars with warm soapy water, and dry thoroughly to prevent moisture-induced corrosion. Inspect seals, gaskets, and the blade hub for wear; replace damaged parts promptly to avoid vibration or imbalance. Lubricate moving metal contacts only if manufacturer approvals exist; otherwise, avoid oiling unless specified. Store components in a dry, dust-free area, and avoid stacking metallic items that could nick blades. When sharpening, follow a consistent angle and record cycles to track wear. Schedule professional service for motor bearing checks and electrical insulation annually. Prioritize safety throughout. Regular inspection of the motor and electrical insulation can help prevent unexpected downtimes, electrical insulation and motor bearing checks should be part of annual servicing.
Frequently Asked Questions
Can I Sharpen Blades With Household Sandpaper at Home?
No, don’t sharpen blades with household sandpaper at home. It’s unsafe and impractical. Instead, use manufacturer-recommended replacement parts or seek professional sharpening services to maintain blade balance, geometry, and motor safety. Improper sharpening risks injury and damage.
How Often Should I Sharpen Mixer Grinder Blades?
You should sharpen mixer grinder blades every 6 to 12 months, depending on usage and load. Inspect for dull edges; if performance drops, pause, unplug, and resharpen or replace. Prioritize safety: wear gloves and eye protection during checks.
Is Sharpening Noisy or Dangerous for the Motor?
No, sharpening isn’t inherently noisy or dangerous if you follow precautions; use proper PPE, unplug the unit, avoid metal-on-metal contact, and steady, slow passes. Maintain motor seals, avoid overheating, and inspect for vibration after sharpening.
Can You Restore Blunt Blades or Only Sharpen?
You can restore blunt blades, not just sharpen minimally; precision grinding removes dullness while preserving geometry. Use proper jigs, consistent speed, and protective gear. Avoid overheat, inspect balance afterward, and dedicate blades to specific grinders for safety.
What Blade Materials Are Most Suitable for Sharpening?
You should use high-carbon steel or HSS blades for sharpening, as they resist wear and maintain edge consistency; avoid soft or plated blades. Use proper grinding wheels, eye protection, and a slow, controlled pass to prevent overheating.