First, unplug the mixer and unplug any power source, then clear a well-lit workspace and put on cut-resistant gloves and eye protection. Disassemble the jar by removing the lid and twisting the jar counterclockwise to access the blade assembly. Select the correct replacement blades for your model and orient them properly before securing. Reassemble the jar, then perform a slow, cautious test to check balance and operation. If anything feels off, stop and reassess before proceeding.
Key Takeaways
- Unplug the mixer grinder and remove cords; ensure the unit is de-energized before starting blade work.
- Secure the appliance, remove the lid, and detach the jar by twisting, then inspect the drive shaft and blade assembly.
- Verify model number, blade hub size, blade type, and replacement compatibility to avoid mismatches.
- Reinstall blades with correct orientation, secure the retaining nut, and ensure a flush, no-play fit.
- Test at low speed, listen for abnormal vibrations, and confirm safety interlocks before full operation.
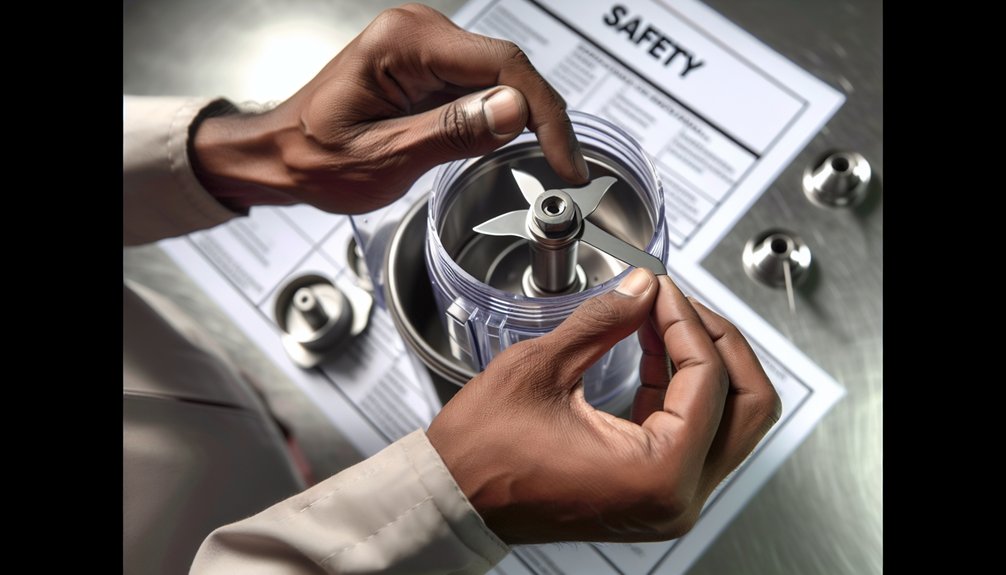
Unplug and Prepare for Safe Blade Replacement

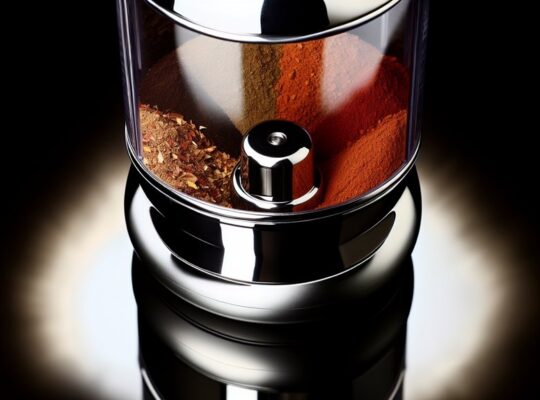
Unplug and Prepare for Safe Blade Replacement. A 500W motor and sturdy stainless steel blades in many models provide efficient grinding, but always ensure the unit is de-energized before beginning any blade work. Safety features like overload protection and anti-skid feet help prevent accidents during setup and operation. Before you touch the blades, unplug the mixer grinder from its power source and remove any cords or adapters. Inspect the unit for visible damage or loose components before handling. Move it to a clear, stable workspace with adequate lighting. Gather necessary safety gear: cut-resistant gloves and eye protection. Do not operate if the cord is frayed or the plug shows damage; address those issues first. Wipe the exterior to remove dust, grease, and debris that could contaminate components. Confirm the switch is in the OFF position and the unit is fully de-energized by testing with a non-contact tester. Keep hands away from the blade housing and internal mechanisms. If you feel unsure at any step, pause and reassess, prioritizing personal safety over speed or convenience.
Disassemble the Jar and Access the Blades
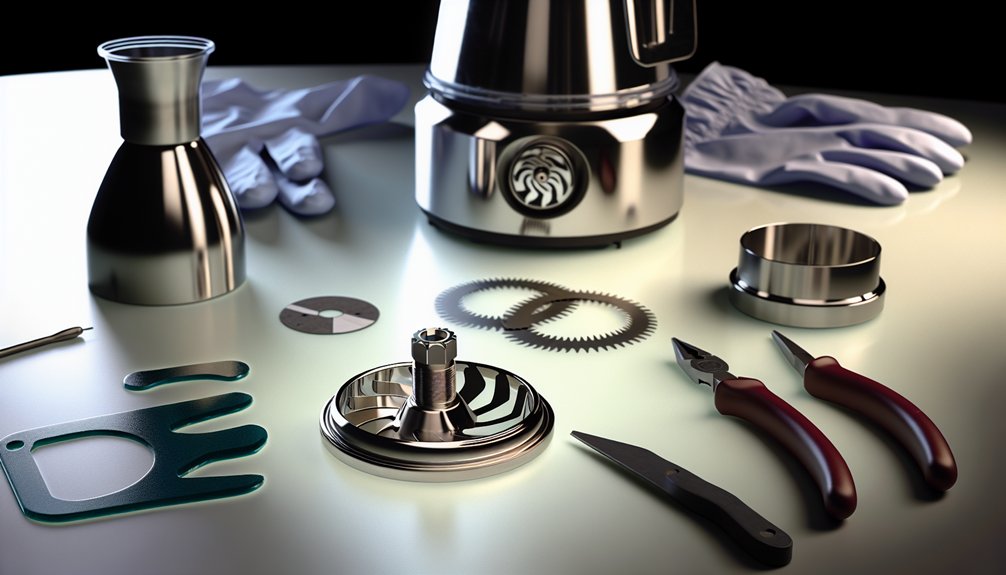
With safety steps completed, you can begin disassembling the jar to access the blades. First, secure the appliance on a dry, stable surface. Remove the lid and any overcap, checking for residual pressure or stuck components. Detach the jar from the motor base by twisting counterclockwise with steady, even pressure; do not pull. Place the jar on a padded work area to protect glass or plastic edges. Inspect the drive shaft and blade assembly for corrosion or damage. If the blades are blocked by food, use a soft brush and warm, soapy water—never pry. Dry all parts completely before touching the blade hub. Remove the blade assembly carefully by loosening the retaining nut or clip per your model’s design. Store components separately until replacement is ready. Be mindful of safety features like overload protection and safety locks that help prevent operation without proper jar placement. blade removal safety
Choose the Right Replacement Blades
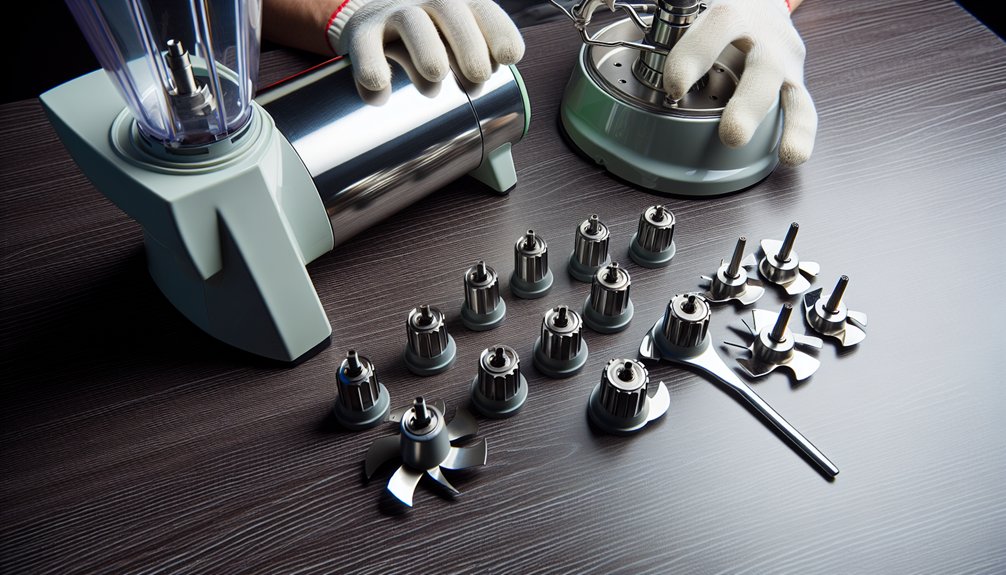
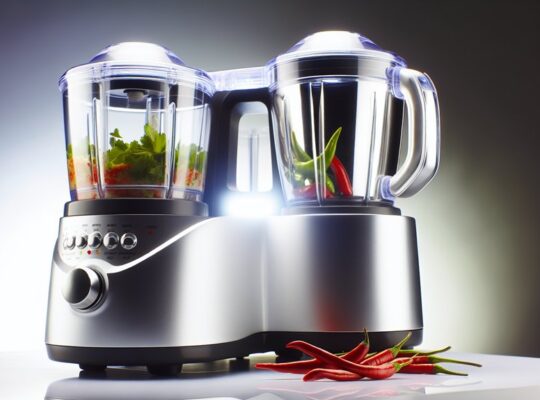
Choosing the right replacement blades starts with compatibility: confirm your mixer grinder’s model number and blade hub size, then verify blade type (stainless steel vs. ceramic) and the blade count listed in the manufacturer’s parts diagram. Next, assess the operating speed range and recommended blade materials for your unit. Avoid generic or unsuitable substitutes that could fail under load. Cross-check any aftermarket blades for encrypted or proprietary fittings; if needed, contact the manufacturer or an authorized service center for exact compatibility. Inspect the replacement’s surface finish for burrs or sharp edges that could injure you or damage the motor. Ascertain the replacement blades are packaged with protective seals and installation instructions. Finally, confirm warranty implications before purchasing to preserve safety standards. Ensure you choose blades that are designed for heavy-duty use or the specific tasks you perform, such as grinding tough ingredients like turmeric and spices, to maximize durability and performance blade compatibility check.
Reinstall Blades and Reassemble the Jar
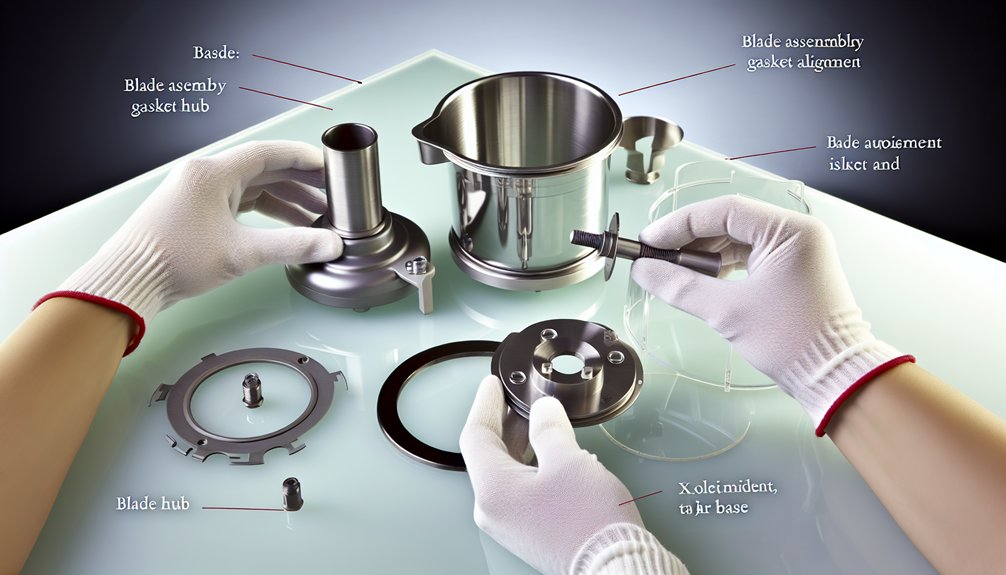
Carefully align the blades with the hub and reseat them in the correct orientation, then reassemble the jar by reconnecting any misaligned seals and tightening the blade assembly securely. Begin by confirming the blade edges face outward and seats are fully seated in the groove. Place the jar on the motor base, ensuring the gasket sits evenly without twists. Reinsert the blade assembly, securing with the retaining nut or screw per manufacturer instructions. Use the proper tool and avoid over-tightening, which can strip threads or crack the housing. Check that all components sit flush and there’s no play between blade and hub. Reattach the lid, ensuring the locking mechanism engages fully. Wipe away any residue, power off, and test at a low speed with a dry run before normal use. Safety remains the priority. Aligning the motor base and jar seals is essential to prevent leaks and ensure a secure fit gasket seating.
Test and Safety Check After Replacement
Once you’ve replaced the blades, power the mixer on at a low speed without loading it to verify balance and confirm there’s no unusual vibration or noise. If vibrations occur, immediately switch off and inspect for misalignment, loose bolts, or blade seating. Discontinue use if the housing or jar shows cracks, or if the motor emits abnormal heat or odor. Verify the blade assembly spins true by running briefly, then observe for any wobble. Check the safety interlocks: confirm lid and overload protection engage correctly before any testing with loads. Recheck blade tightness after the initial run, then run at a moderate speed with a minimal load to confirm stability. Document results, and replace any defective components before returning to full operation. Always unplug during adjustments and maintenance. Prioritize safety. Maintaining a proper motor rating helps ensure long-term reliability and aligns with the appliance’s design specifications.
Frequently Asked Questions
Can I Mix Blade Types From Different Brands Safely?
No, you should not mix blade types from different brands. Mismatched blades can cause imbalance, heat buildup, or motor damage. Always use manufacturer-specified blades, and consult your manual or technician before attempting replacements. Prioritize safety and device integrity.
How Do I Identify Blade Compatibility Quickly?
You identify blade compatibility quickly by checking manufacturer model numbers, measuring shaft diameter and length, matching spline count, and confirming rated RPM. Verify with official compatibility charts, and avoid mixing brands or unlisted blades to prevent motor damage.
Are There Tools Required Beyond Basic Hand Tools?
Yes, beyond basic hand tools you’ll need a replacement blade, a tightening wrench, a blade-locking device, and safety gloves. Make certain to unplug, follow manufacturer instructions, and use torque specs to avoid slip injuries or misalignment. Proceed cautiously.
What Signs Indicate Blades Need Replacement Soon?
Signs your blades need replacement soon include loud grinding sounds, excessive vibration, reduced blending efficiency, uneven chunks, smoky or burnt smells, visible wear or chipping, overheating motor, and unusual motor stalling. Replace blades promptly to prevent damage and injury.
Should I Lubricate Seals After Blade Changes?
Yes, lubricate seals after blade changes only if the manufacturer specifies, using the recommended food-grade lubricant; otherwise, avoid adding anything. Confirm components are clean, dry, and reassembled securely before testing at low speed. Stop if leaks occur.