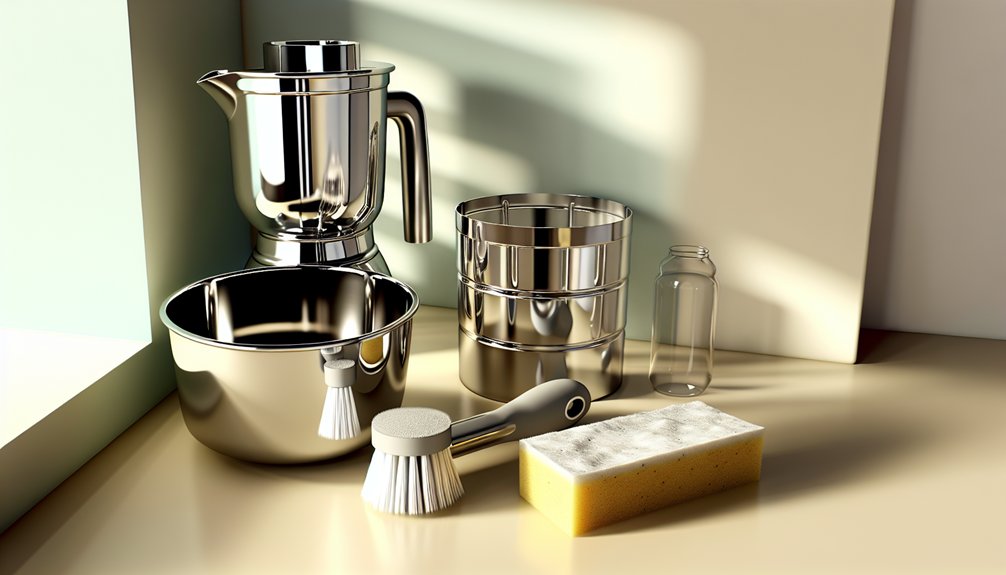
You’ll start by a quick warm-water rinse to loosen leftovers, then disassemble the jar and soak it in warm, soapy water for a few minutes. If stains linger, add a splash of vinegar and a pinch of baking soda for a gentle scrub. Rinse well, air-dry completely, and reassemble. Want to keep them pristine with less effort next time? There’s a simple routine that fits right into your kitchen workflow.
Key Takeaways
- Pre-rinse the jar with warm water, then disassemble and soak in warm, soapy water for 5–10 minutes.
- Use lemon juice or white vinegar in warm water to loosen mineral buildup and odors.
- Make a baking soda paste for soft grime, scrub gently, then rinse thoroughly.
- For stubborn smells, simmer water with a coffee filter or tea bag inside the jar briefly, then rinse and air-dry.
- Dry completely, wipe seals/blades, and store with the lid off to prevent moisture and odors.
Pre-Rinse and Soak Techniques
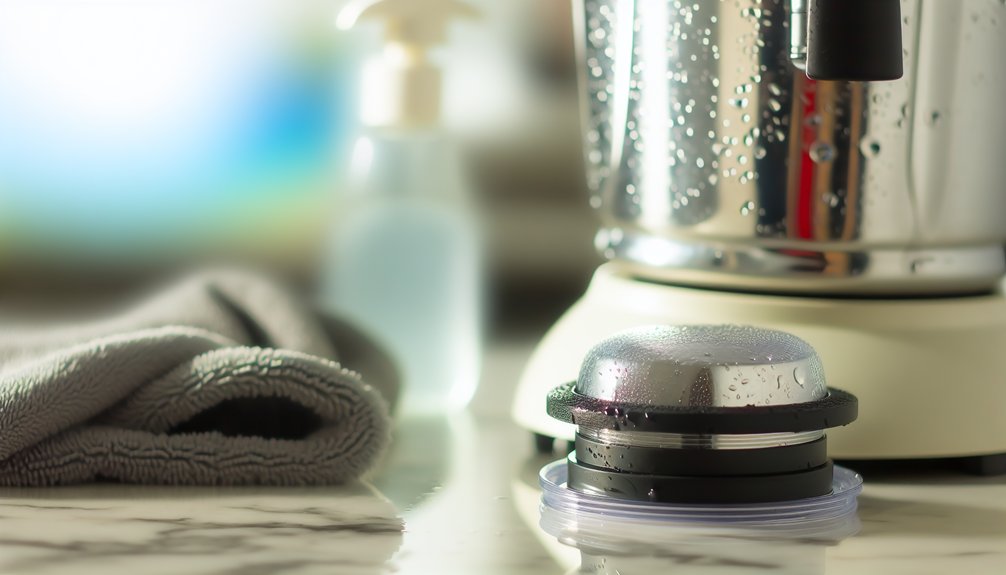
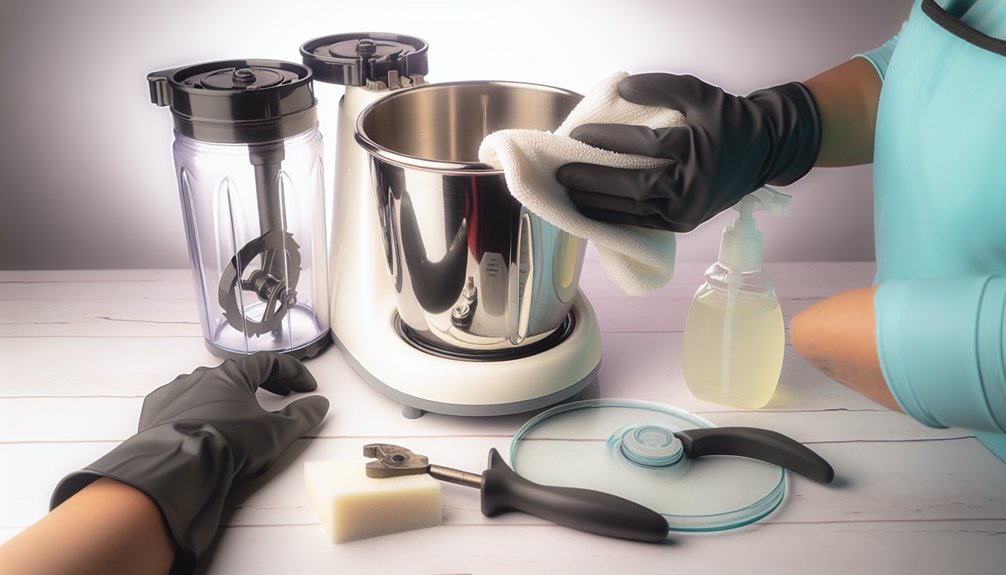
Pre-rinse is quick and essential: it loosens loose bits and makes soaking more effective. You’ll start by rinsing the jar with warm water to loosen residue, then remove the blade assembly carefully. Handle blades with a towel to avoid slips, and avoid touching sharp edges. For soaking, fill the jar with warm, soapy water up to the gasket line, using a mild dish soap. Let it sit for 5 to 10 minutes to soften stubborn stains, sugars, or dried pulp. If you’re dealing with strong odors, add a splash of vinegar, then rinse thoroughly. After soaking, drain, rinse again, and wipe the rim. Safety: unplug the unit during cleaning, and never submerge the motor base. Proceed to rinse-off with clean water.
Cleaning With Common Kitchen Staples
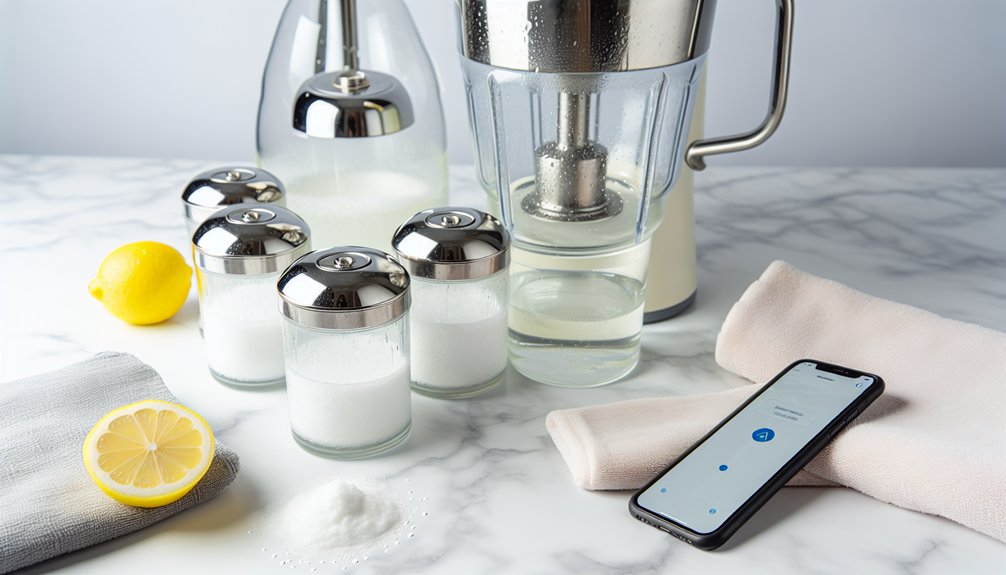
After soaking, you’ll often find that common kitchen staples do most of the heavy lifting. Start with a pinch of lemon juice or white vinegar in warm water to tackle mineral buildup, then rinse. For soft grime, blend baking soda with a splash of water into a paste and scrub the jar’s interior with a sponge, avoiding harsh scrubbing that could scratch. Rinse thoroughly to prevent any taste transfer, and run the grinder briefly with just water to clear residues. For stubborn odors, simmer a small amount of water with a coffee filter or tea bag in the jar, then rinse again. Dry completely before reassembling. These steps use safe, readily available ingredients without harsh chemicals.
Dealing With Stubborn Stains and Odors
Stubborn stains and odors can linger even after you’ve done the basics, but you can tackle them with a couple of simple, effective moves. You’ll focus on safe, kitchen-ready steps that don’t damage the jar.
- Soak with lemon and warm water: squeeze a lemon, add rind, and let sit 10 minutes to lift residue.
- Boost with baking soda paste: mix with a touch of water, scrub gently, then rinse.
- Run a safety-clean cycle: add fresh water, a splash of white vinegar, and pulse briefly. Overload protection
- Final rinse and air-dry: verify all soap and residue are gone, then dry completely.
Tip: always unplug, avoid abrasive tools, and test on a small area first.
Post-Wash Maintenance for Longevity
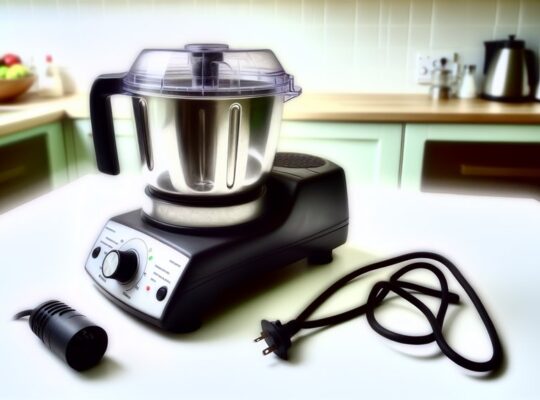
Post-wash maintenance keeps your mixer grinder jars performing like new. After every use, rinse, dry, and store with the lid off to prevent moisture traps. Immediately wipe seals and blades with a clean cloth to remove residual moisture and food particles. Schedule a monthly deep check: remove gaskets, inspect for cracks, and replace as needed to avoid leaks. Use a gentle brush to clear low-profile corners; never soak metal parts longer than a few minutes. When reassembling, make sure blades sit firmly and the jar is fully dry before next load. Keep a small checklist handy: dry surfaces, clear seals, intact threads. This routine protects texture, flavor, and safety, reducing corrosion and odors over time. Consistency guarantees longevity without complexity. Warranty assurance supports repairs if issues arise after routine maintenance.
Safety Tips and Quick Preventatives
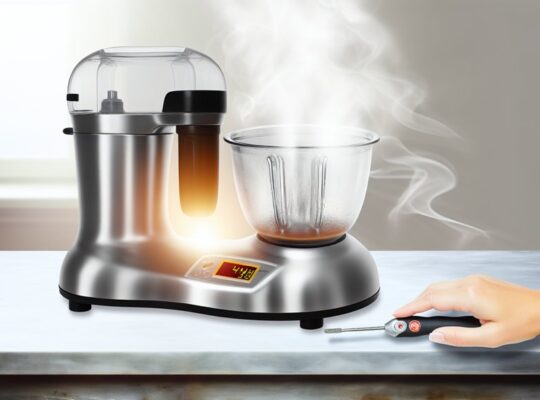
Safety tips and quick preventatives help you keep your mixer grinder jars safe and sane between batches, so you can blend confidently without surprises. You’ll stay crisp about cleanliness, and reduce mishaps with simple checks. The heavy-duty models listed, like the Maharani Jumbo2000 and COOKWELL 2 HP, benefit from these practices to maintain performance and longevity 2-year limited warranty and ensure reliable operation.
Frequently Asked Questions
Can I Clean Jars Without Disassembling Them Completely?
Yes, you can: fill with warm water and a little dish soap, run briefly, then wipe with a sponge. Avoid disassembling fully; use safe, non-abrasive cleaners, rinse thoroughly, dry, and reassemble only when parts are dry.
How Often Should I Replace Grinder Jar Seals?
You should replace grinder jar seals every 1–2 years with regular use, or sooner if you see cracks, leaks, or smell rubber. Inspect monthly, and prioritize safety by avoiding spills and unplugging before inspection. Keep spare seals handy.
Are There Eco-Friendly Alternatives to Lemon for Odors?
Yes—you can use baking soda, white vinegar, or activated charcoal as eco-friendly odor absorbers. You sprinkle, wait, and rinse, avoiding lemon. They’re safer for surfaces and materials, and you’ll keep scents fresh without harsh chemicals.
What’s the Best Way to Dry Jars Without Water Spots?
Dry jars with a microfiber towel, then air-dry upside down in a clean rack; wipe hinges and lids with a damp cloth first. Avoid heat sources, keep cords clear, and store completely dry to prevent spots and mold.
Do Stains Affect Grinding Performance Long-Term?
Yes, stains can indicate residue that dulls blades over time, potentially harming grinding performance if left untreated; scrub promptly, use proper cleaners, and keep jars dry to maintain efficiency and safety during future uses.